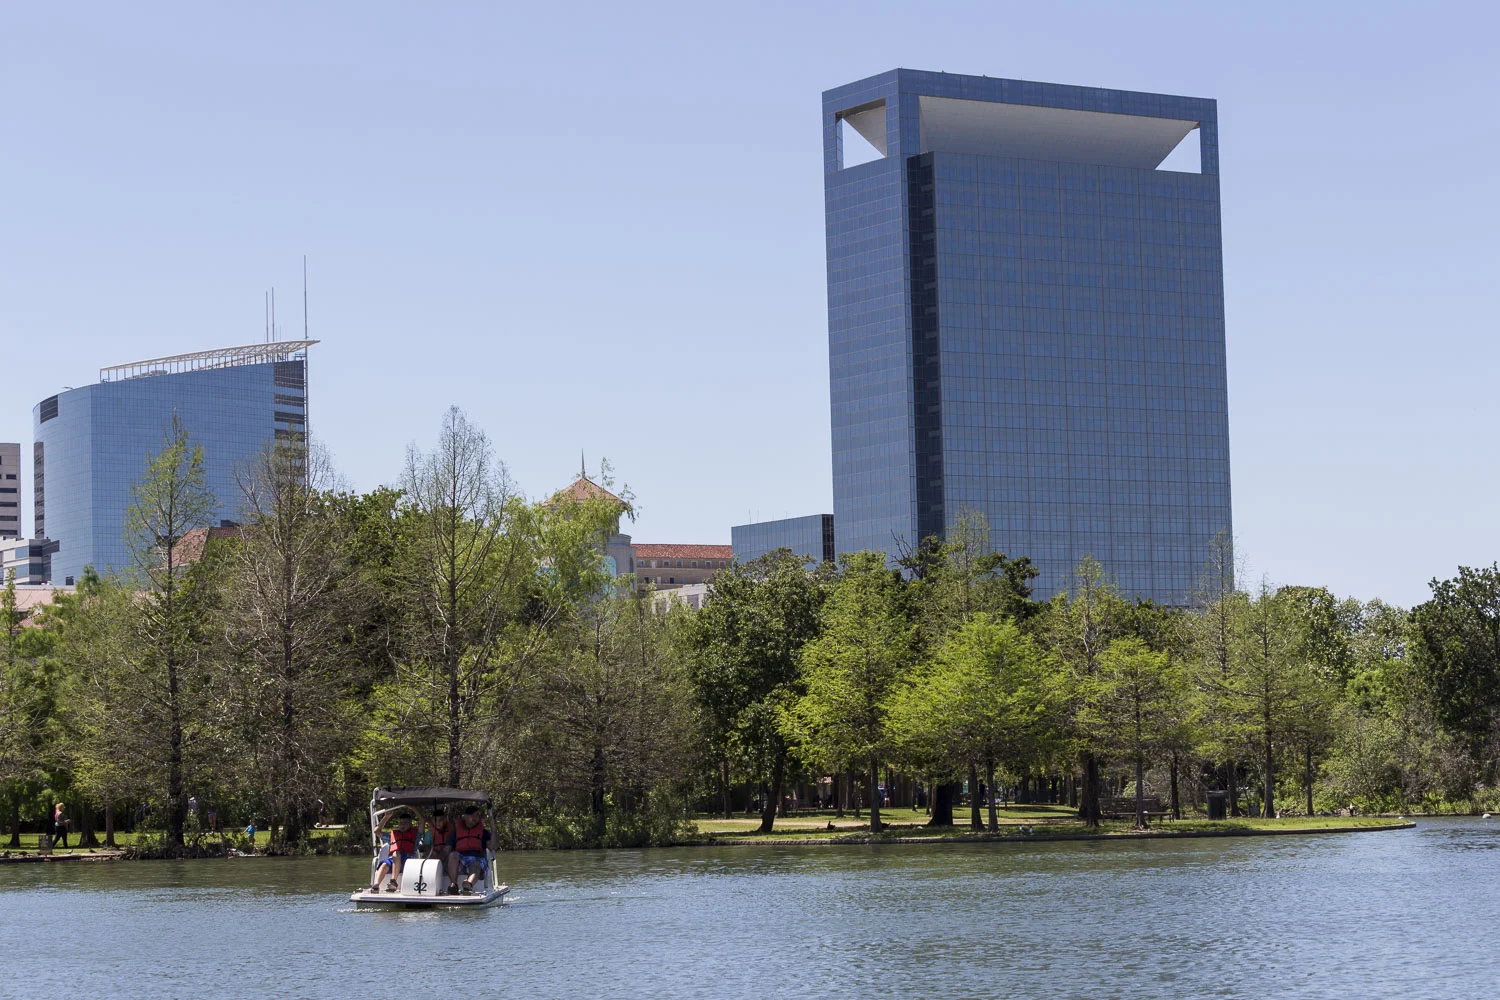
Fun in Photoshop with a night shot I took last spring.
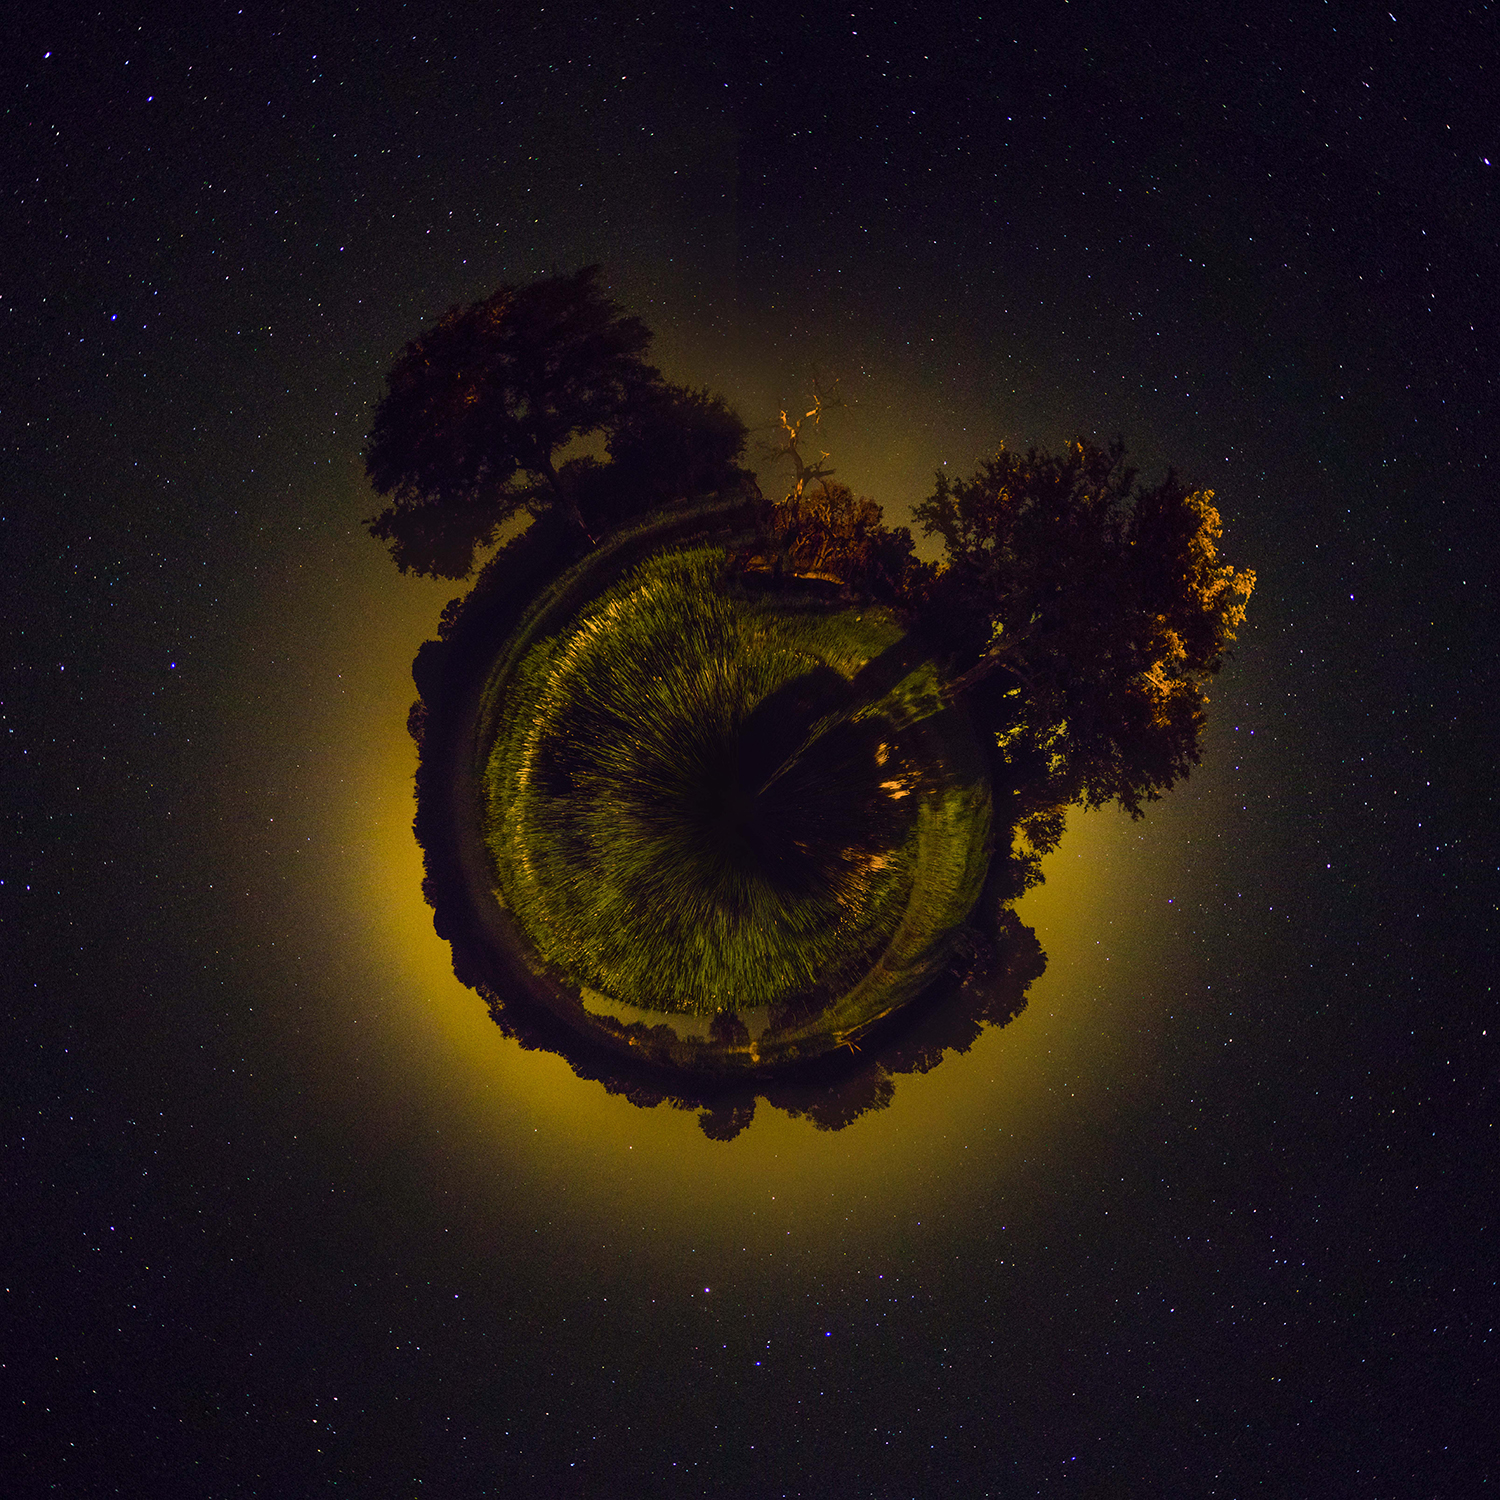
Fun in Photoshop with a night shot I took last spring.
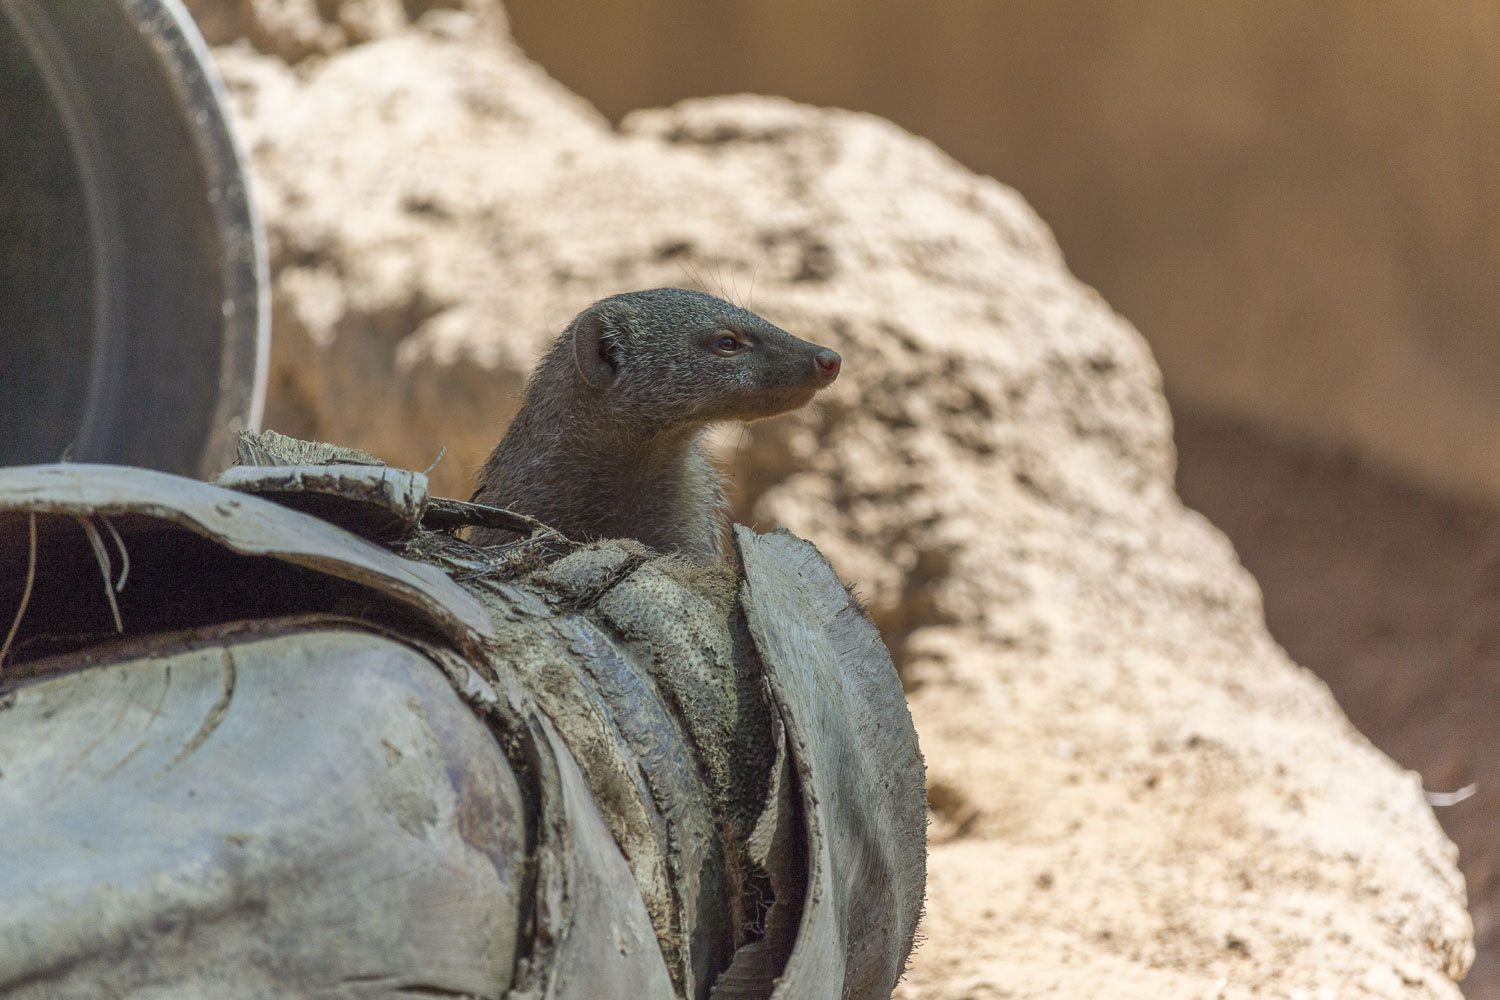
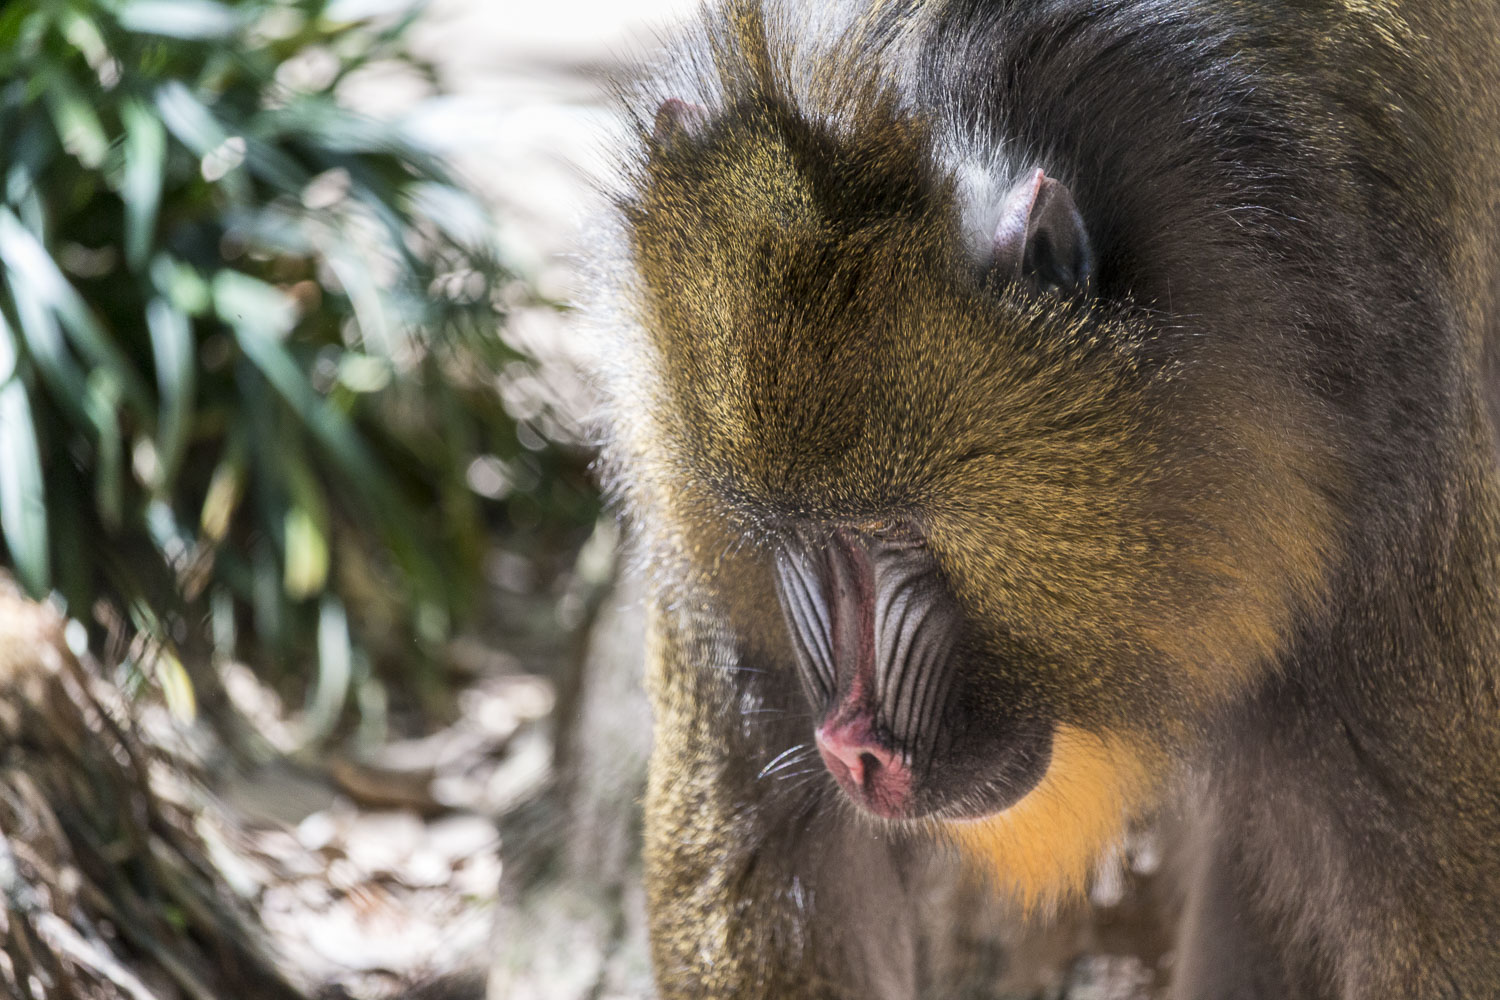
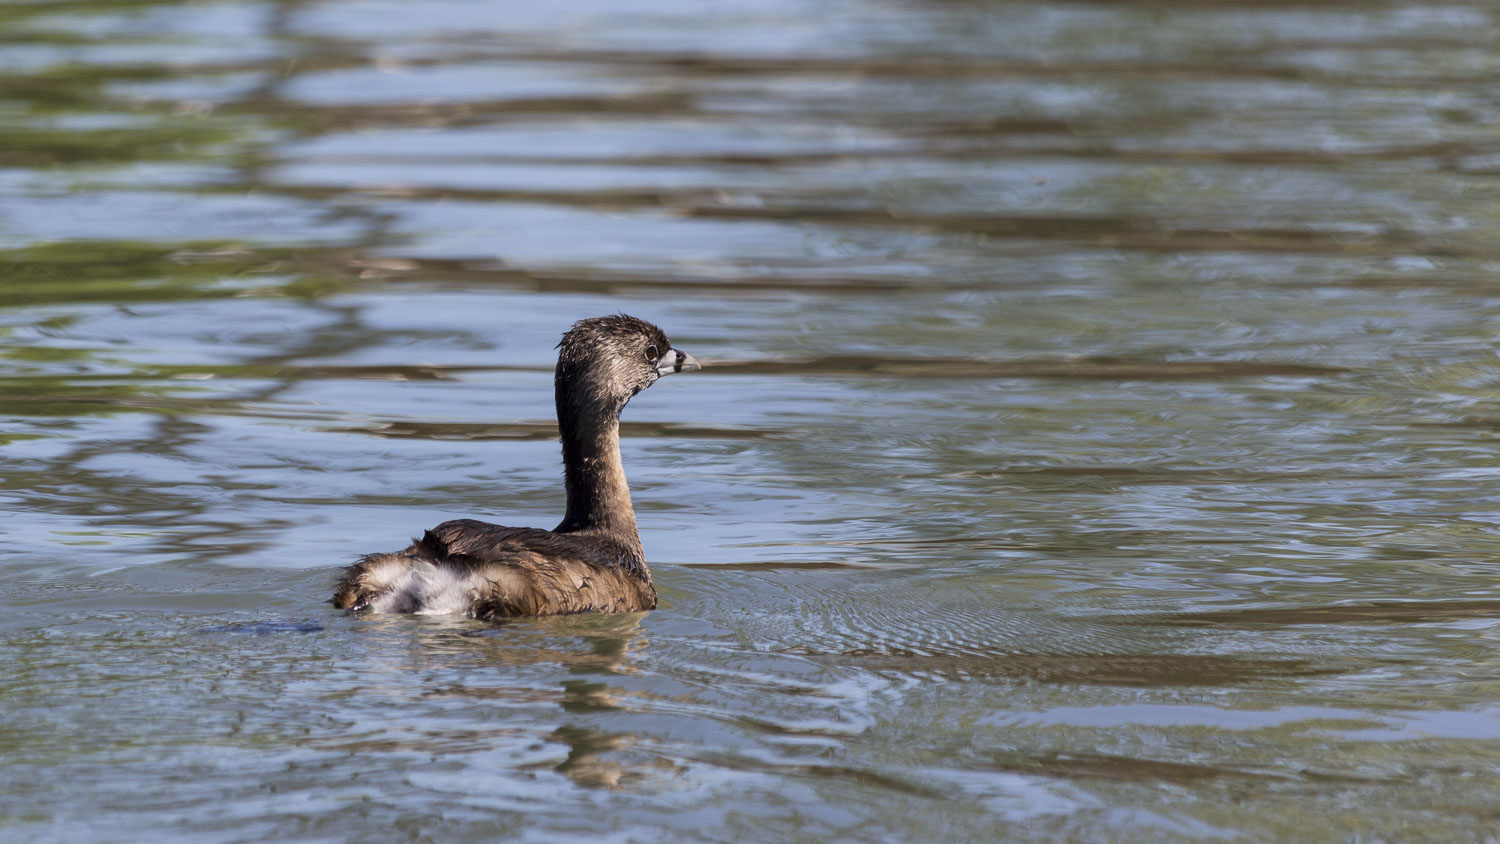
Some photos I took at the Houston Zoo over spring break.
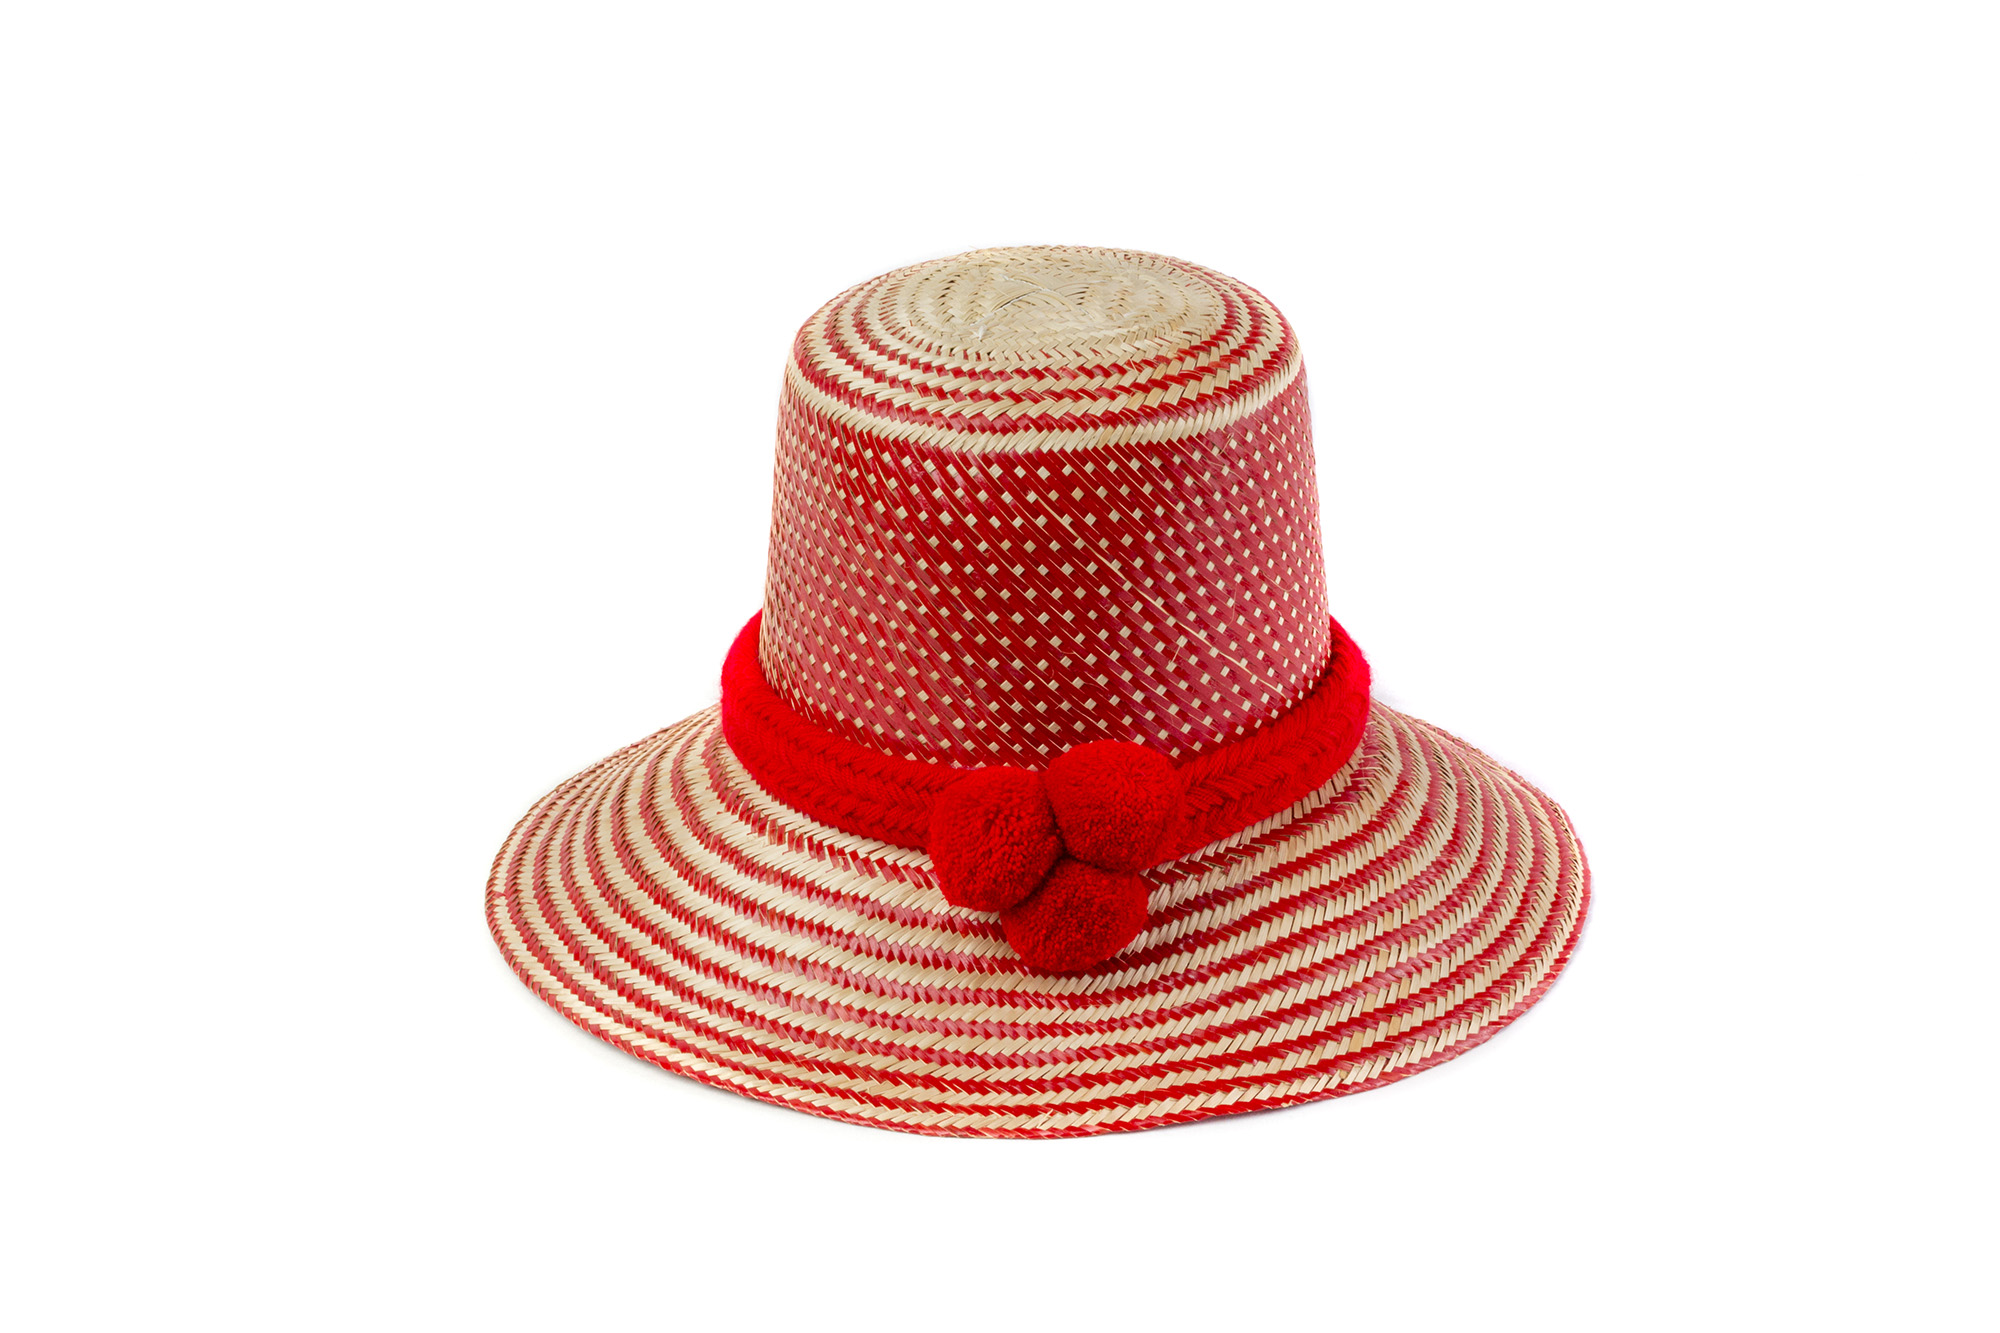
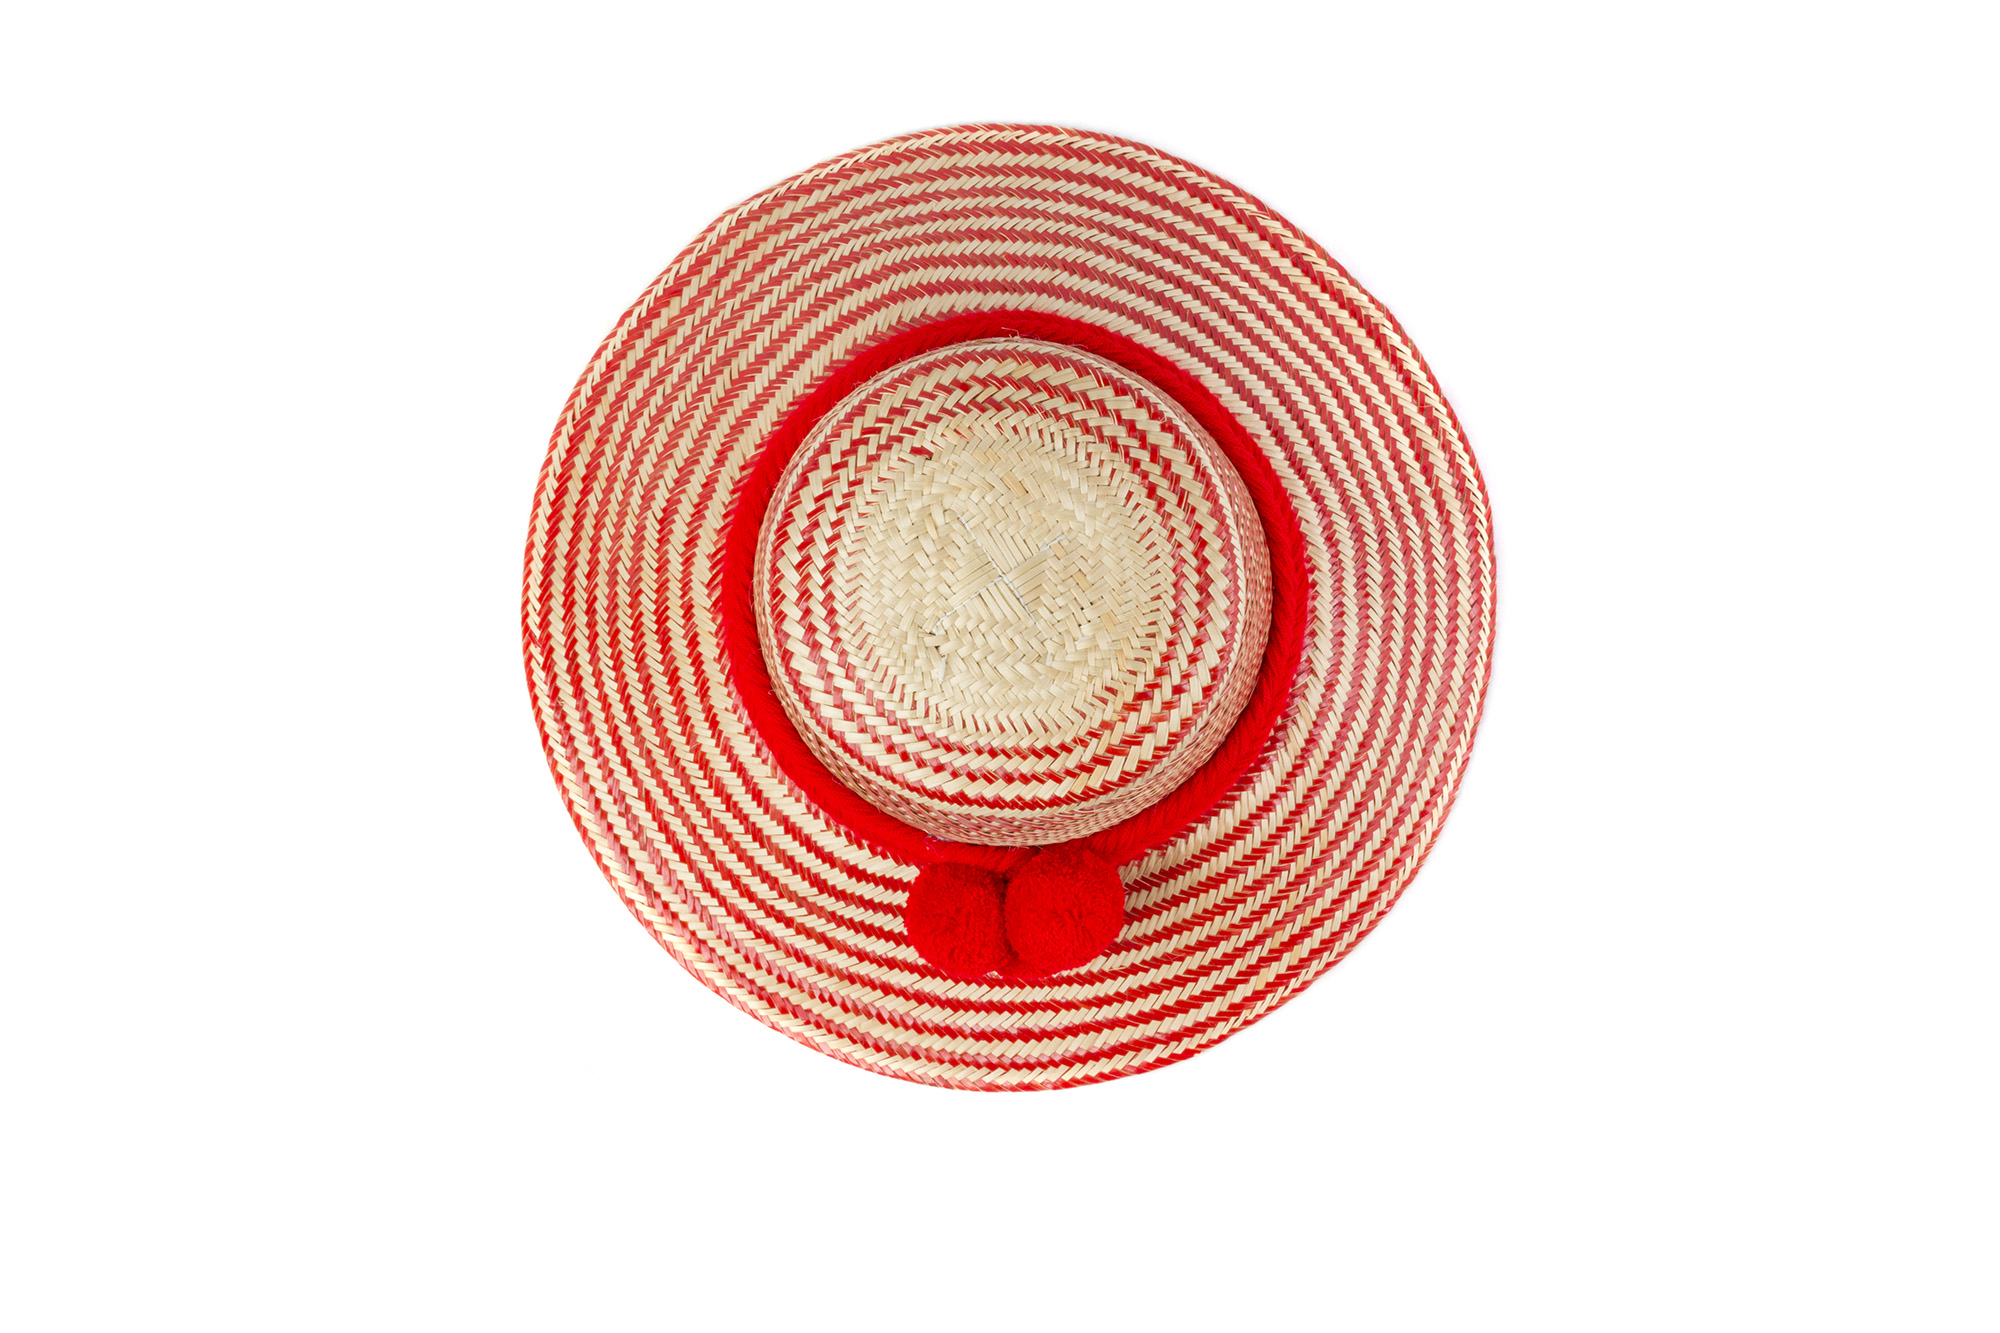
I was hired to shoot product photos.
I've been seeing a bunch of these cinemagraph things online lately so I decided to look up a tutorial and give it a try. It's basically a still photo with only a small portion of it moving. I hung up some black paper on my wall and placed a small table in front. I don't have any serious constant lighting set up so I just used two lamps off to the left and placed a diffuser in front of them. The diffuser's I made a while ago out of canvas frames and white diffusion cloth from amazon. One light I aimed directly at the mug and the other I aimed over the mug to light my press and hand as I poured. It wasn't the most original idea for a cinemagraph but it was the first thing that came to my mind. I used a canon t4i with my 50mm f/2.5 macro. Shot 1920x1080@24 fps with a 1/50th shutter speed, f/4, and ISO 800. After I did a few takes I imported everything into Photoshop and chose the one with the least amount of movement and best light. After some layer masks, adjustments, and cropping I exported it as a looping .GIF
Processed in Adobe Photoshop CC.
Over Christmas break I found a ladybug in a potted plant so I decided to take some macro shots. I used a Canon EF 50mm f/2.5 macro lens with some extension tubes to get a little closer. I set up two flashes. One on the left to light it and one in the back with a yellow gel to give it that warm outline. I used the yellow gel to make it seem like the sun was rising just behind it.
And here's another shot
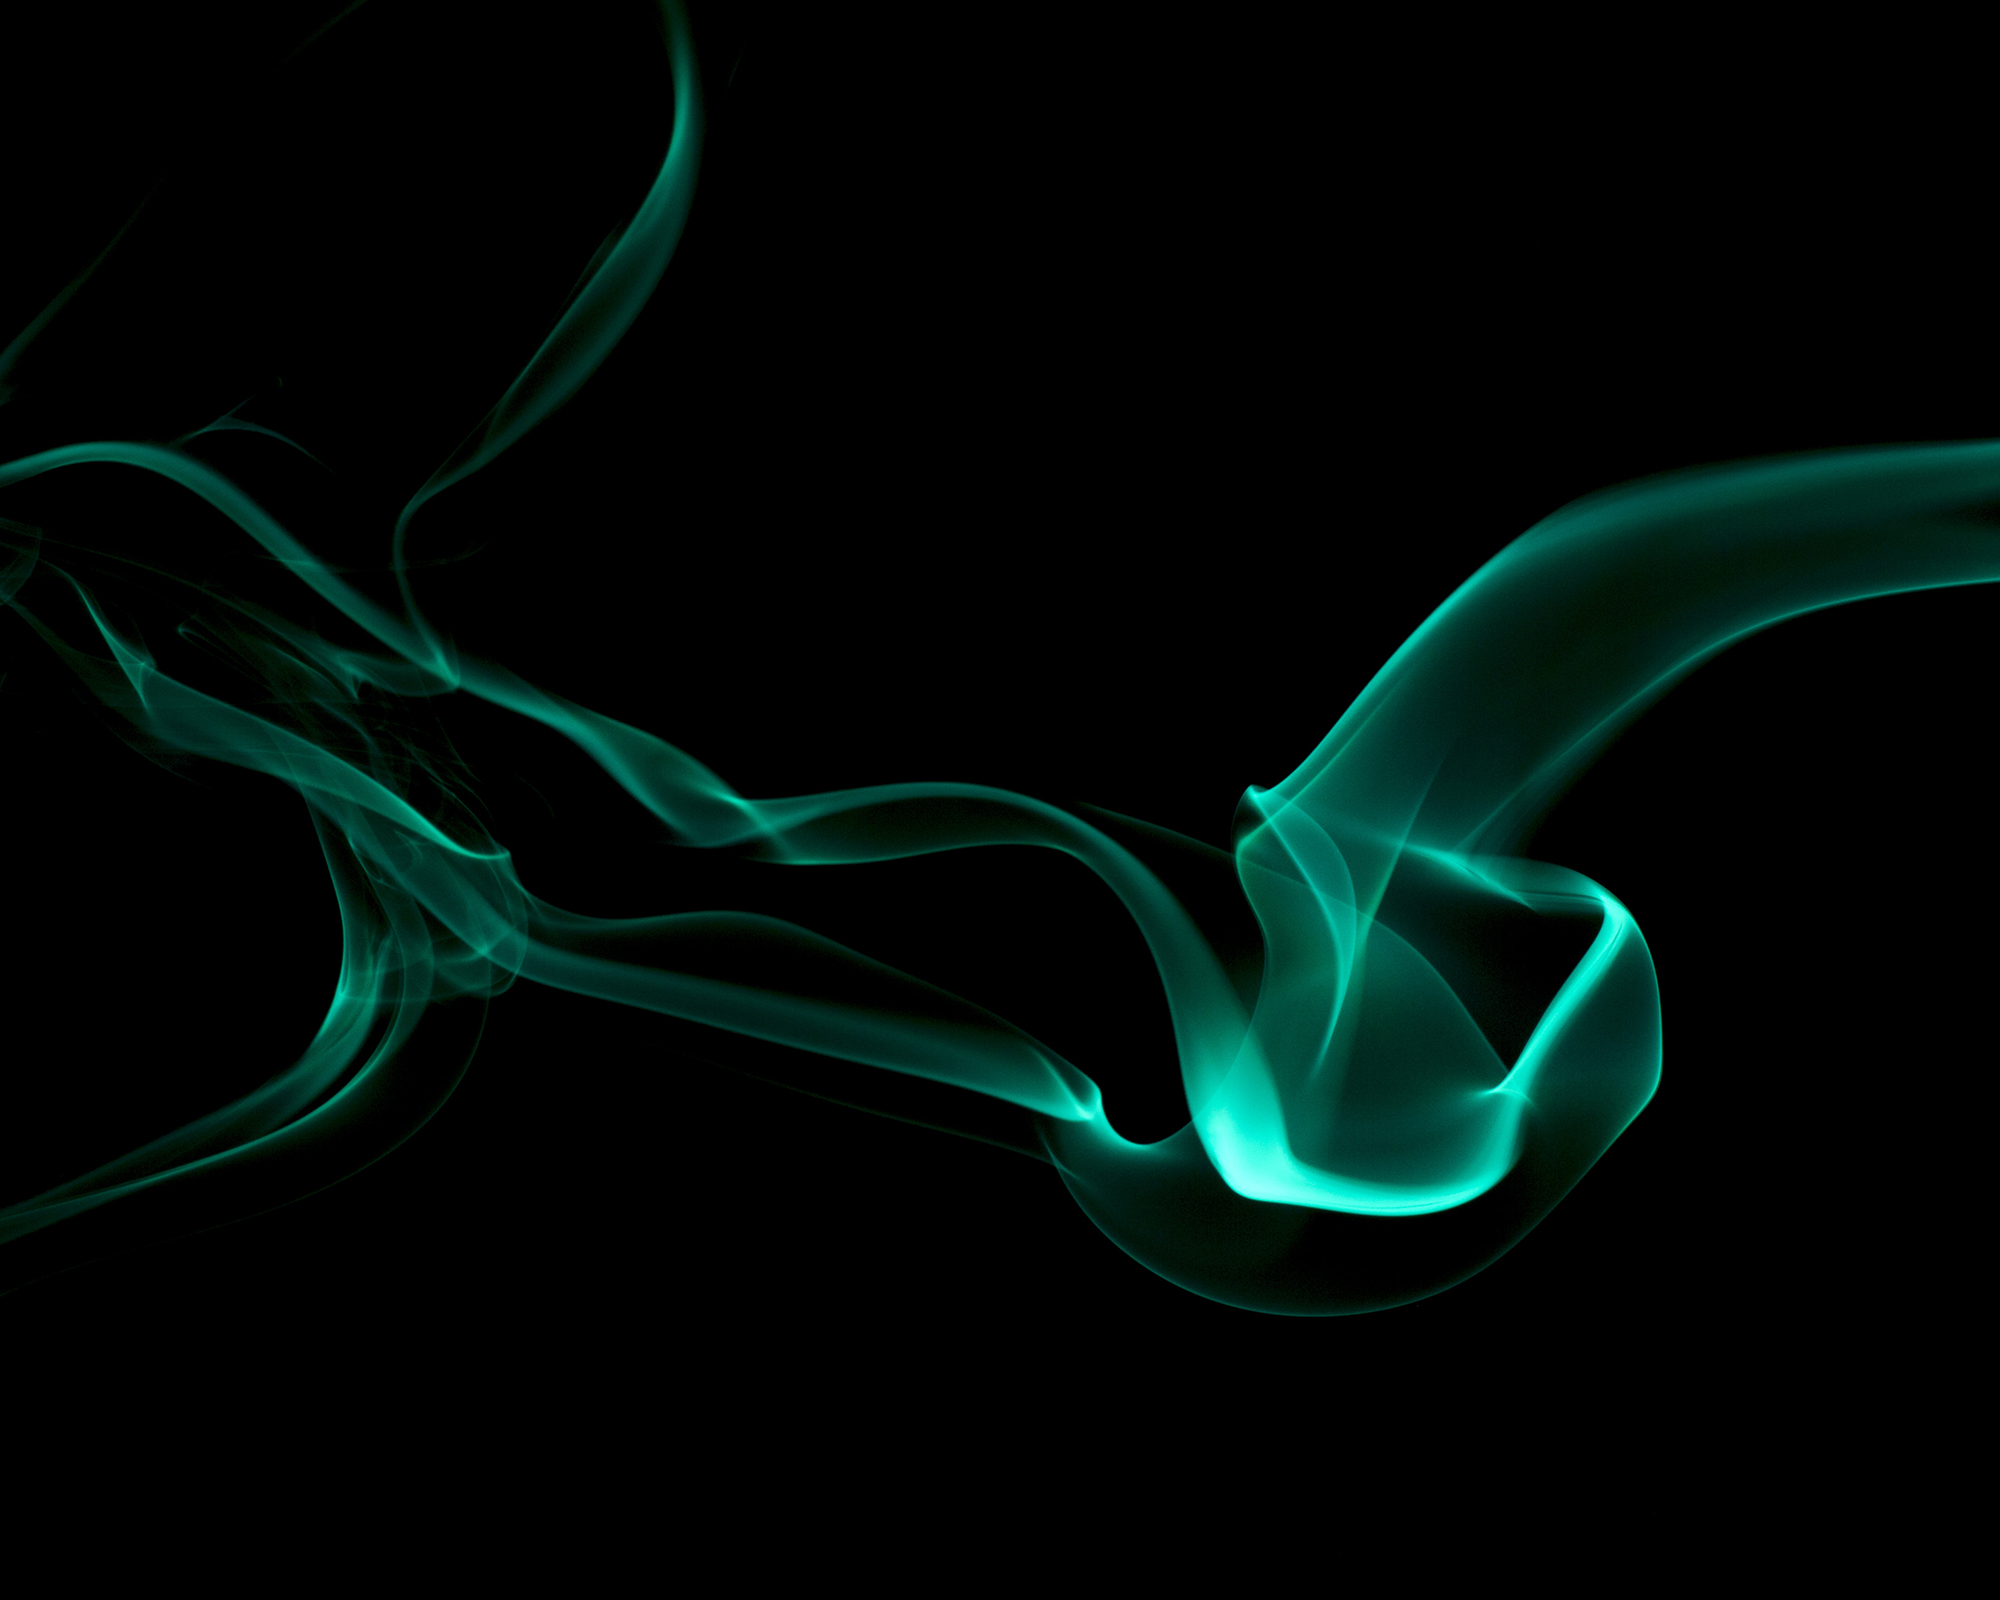
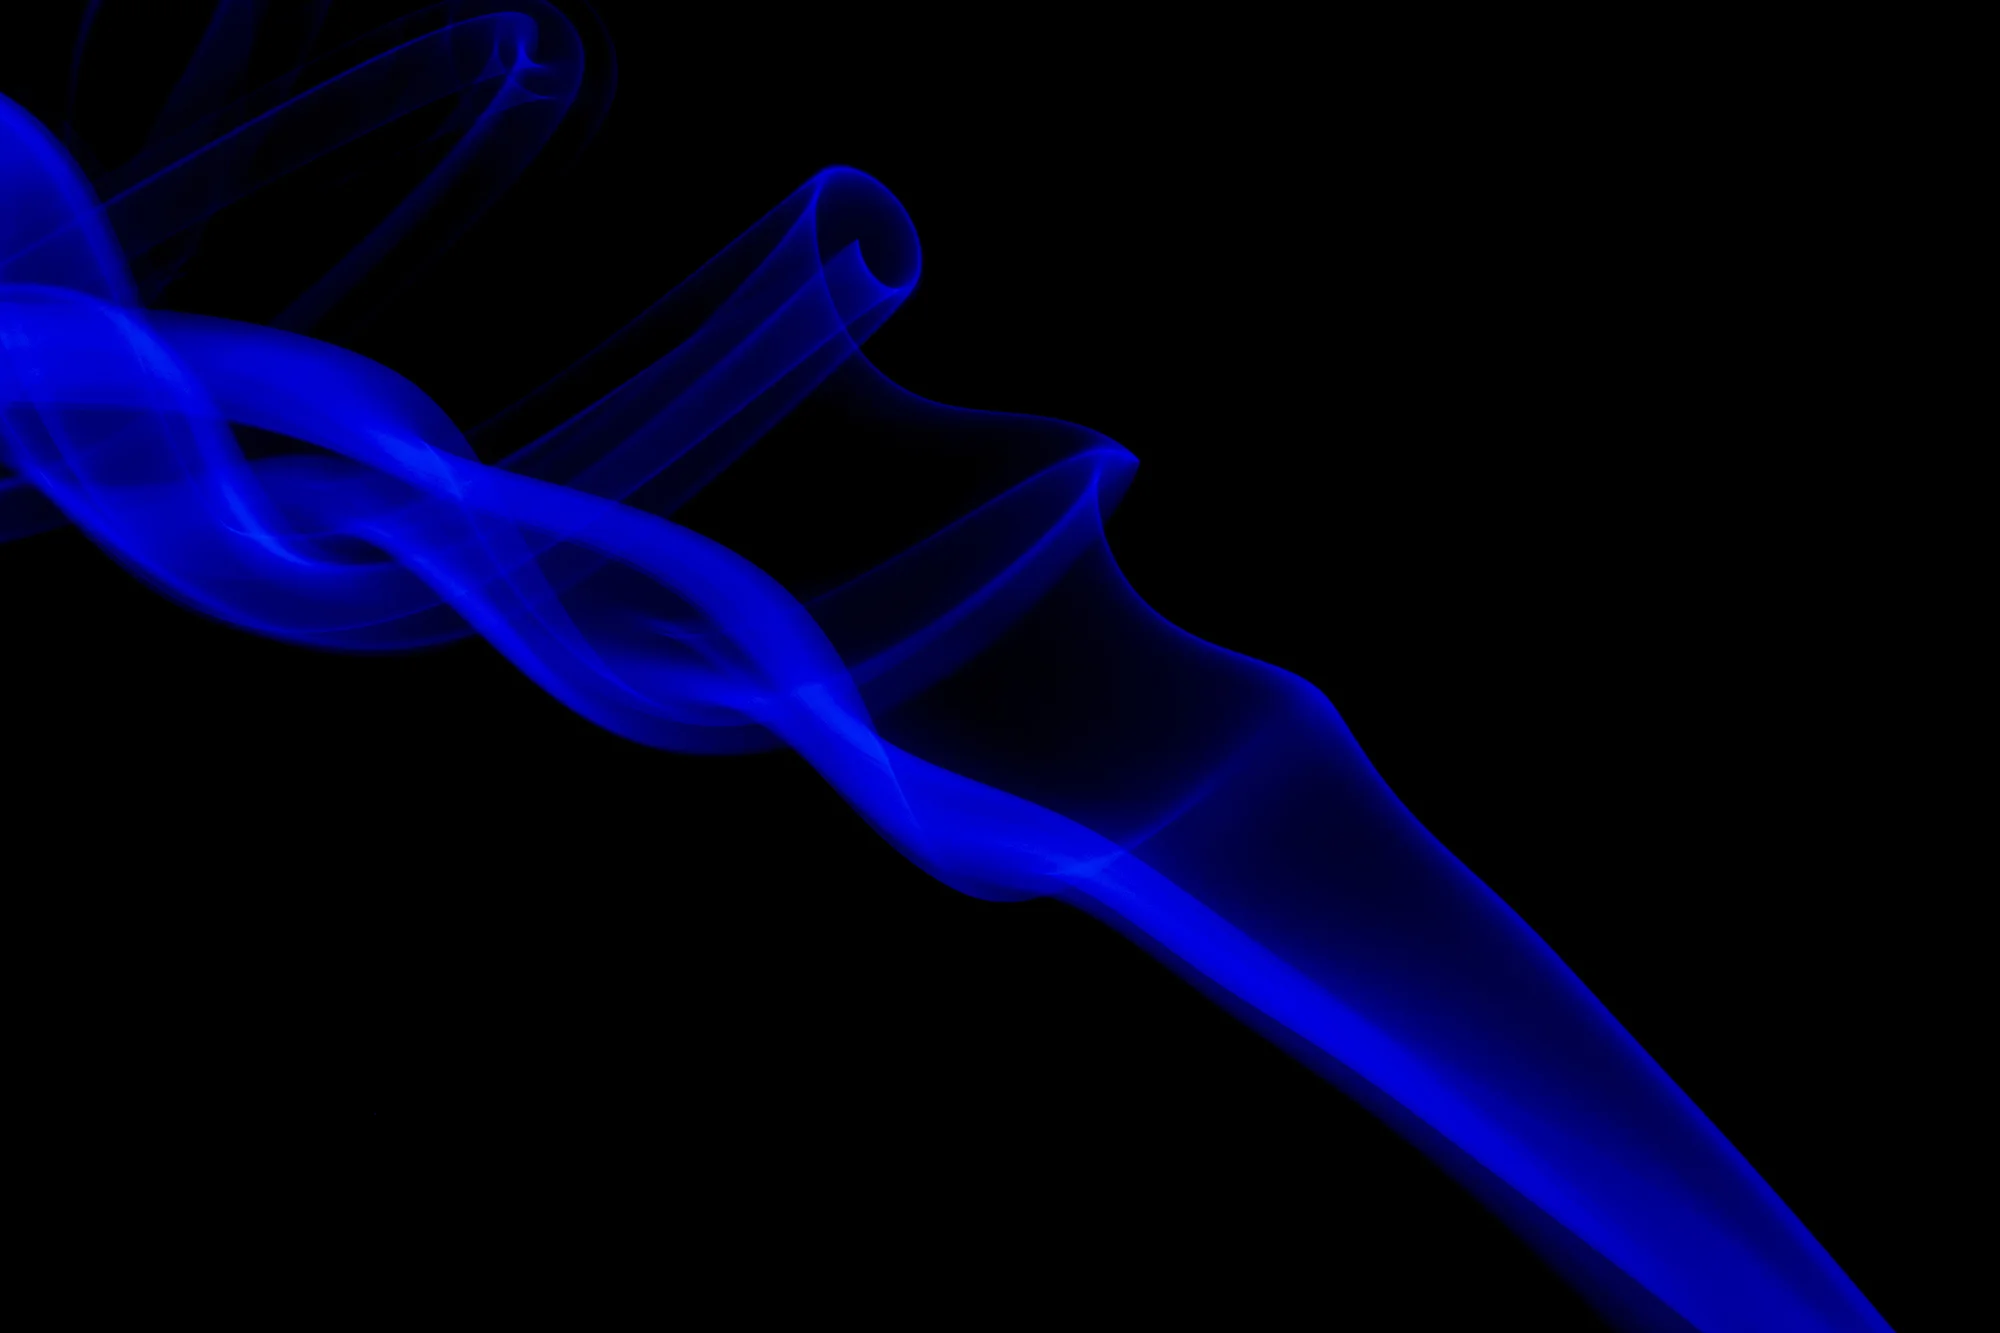
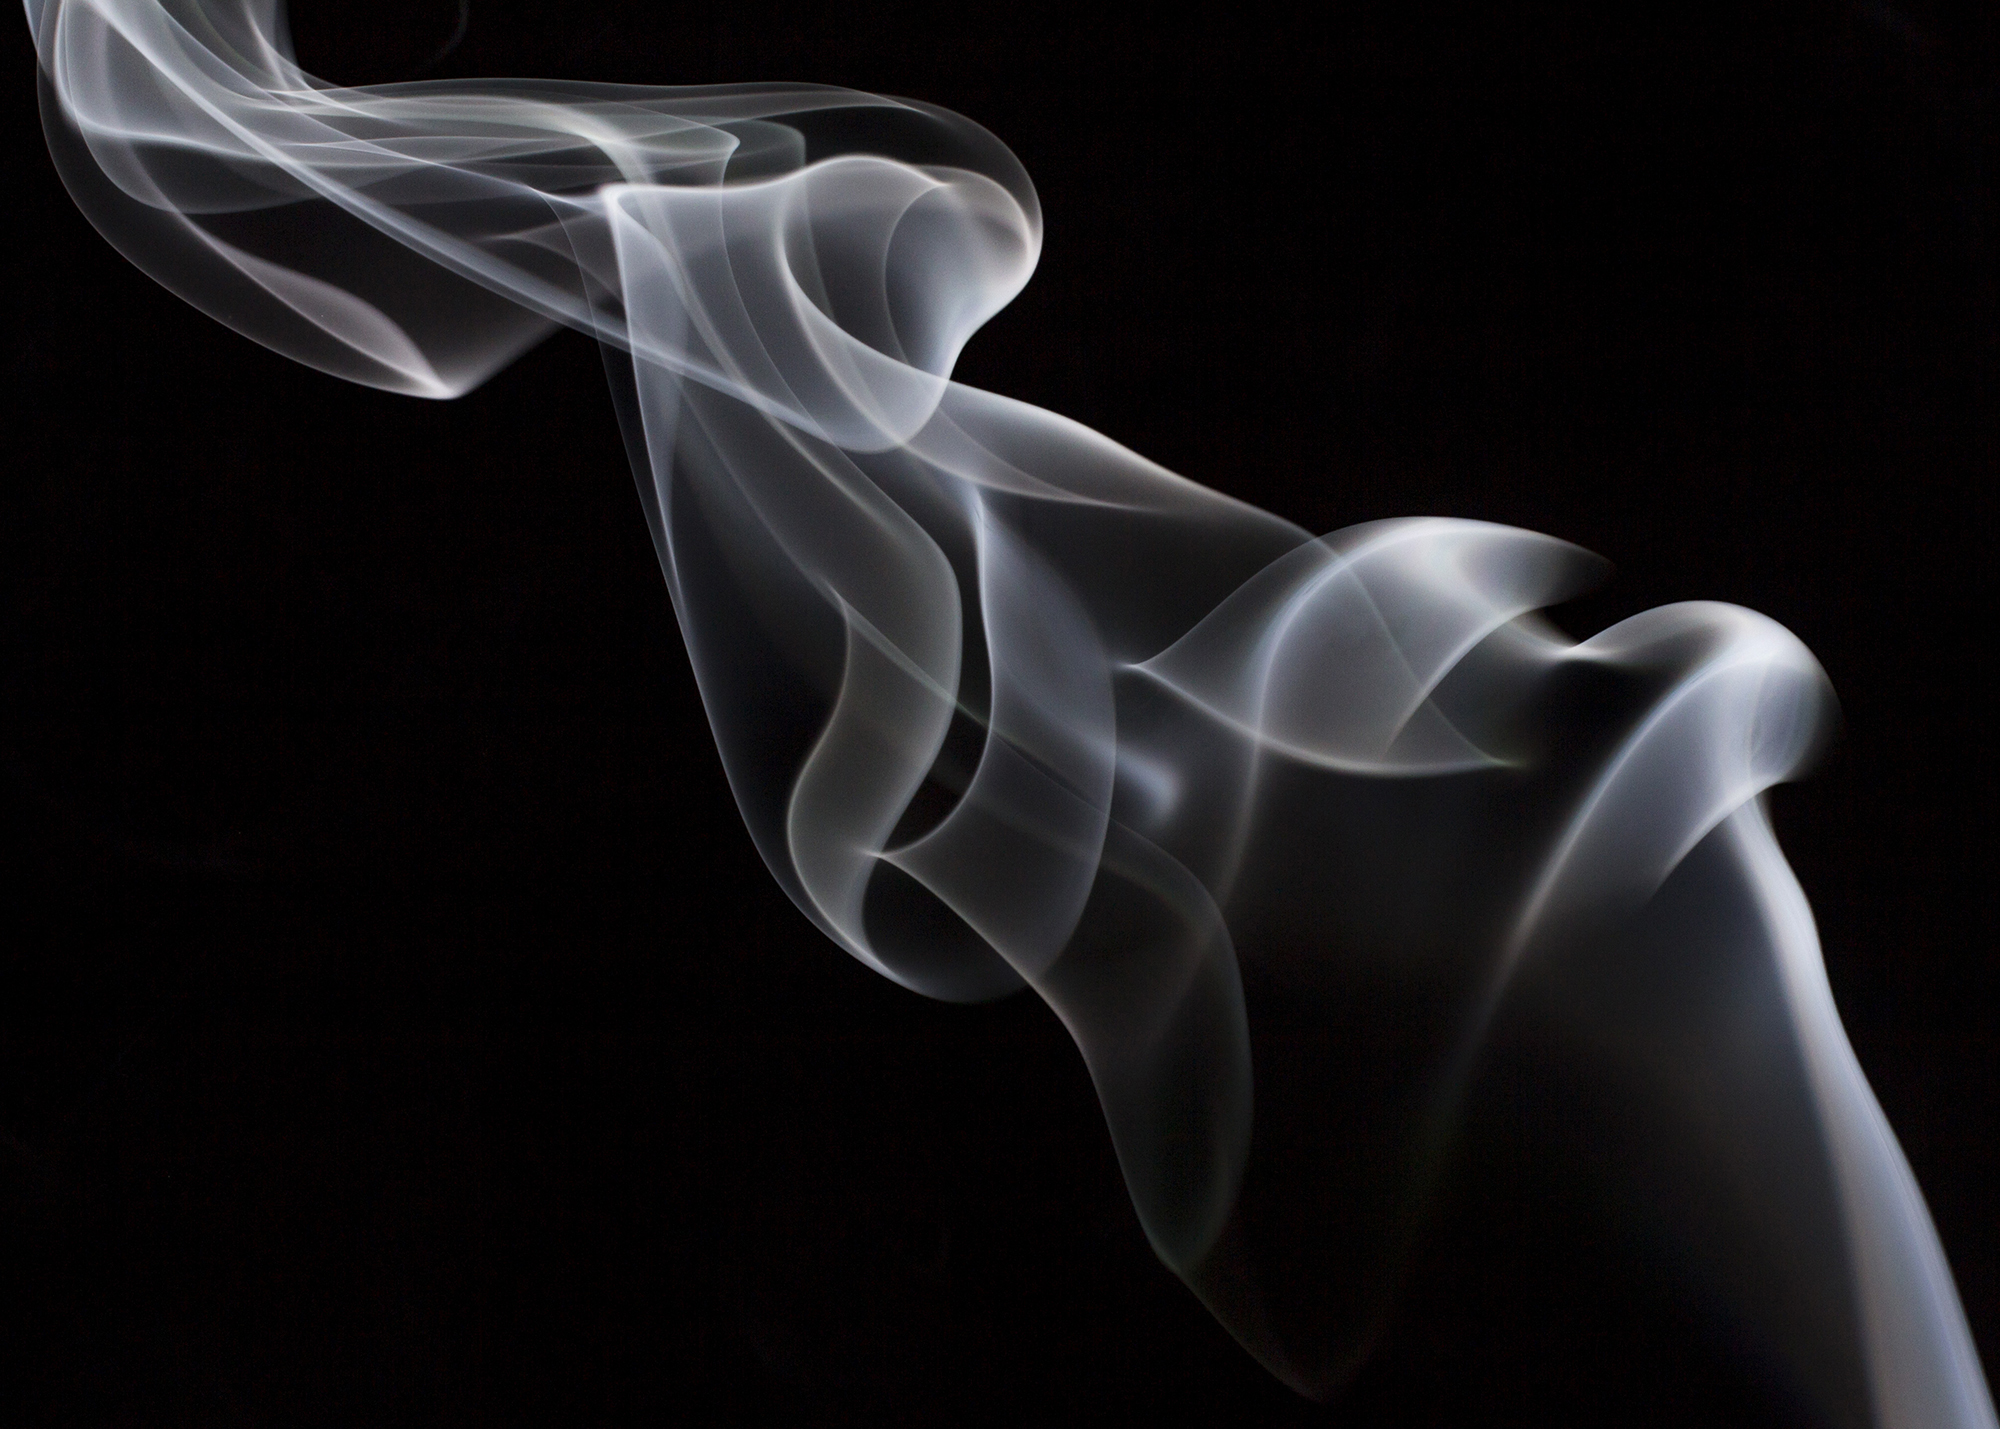
This was another easy single strobe setup. I positioned a flash off to my right and tacked a black poster board to the wall. On a table I stuck an incense stick in some clay to keep it standing straight and lit it. After that it was just finding the right strength of the flash and making sure it didn't hit the black background. This was super easy and a lot of fun. Trying different angles and watching the smoke billow into different shapes was really interesting. After, in Photoshop changing the colors and making adjustments was just as fun.
Processed in Adobe Photoshop CC.
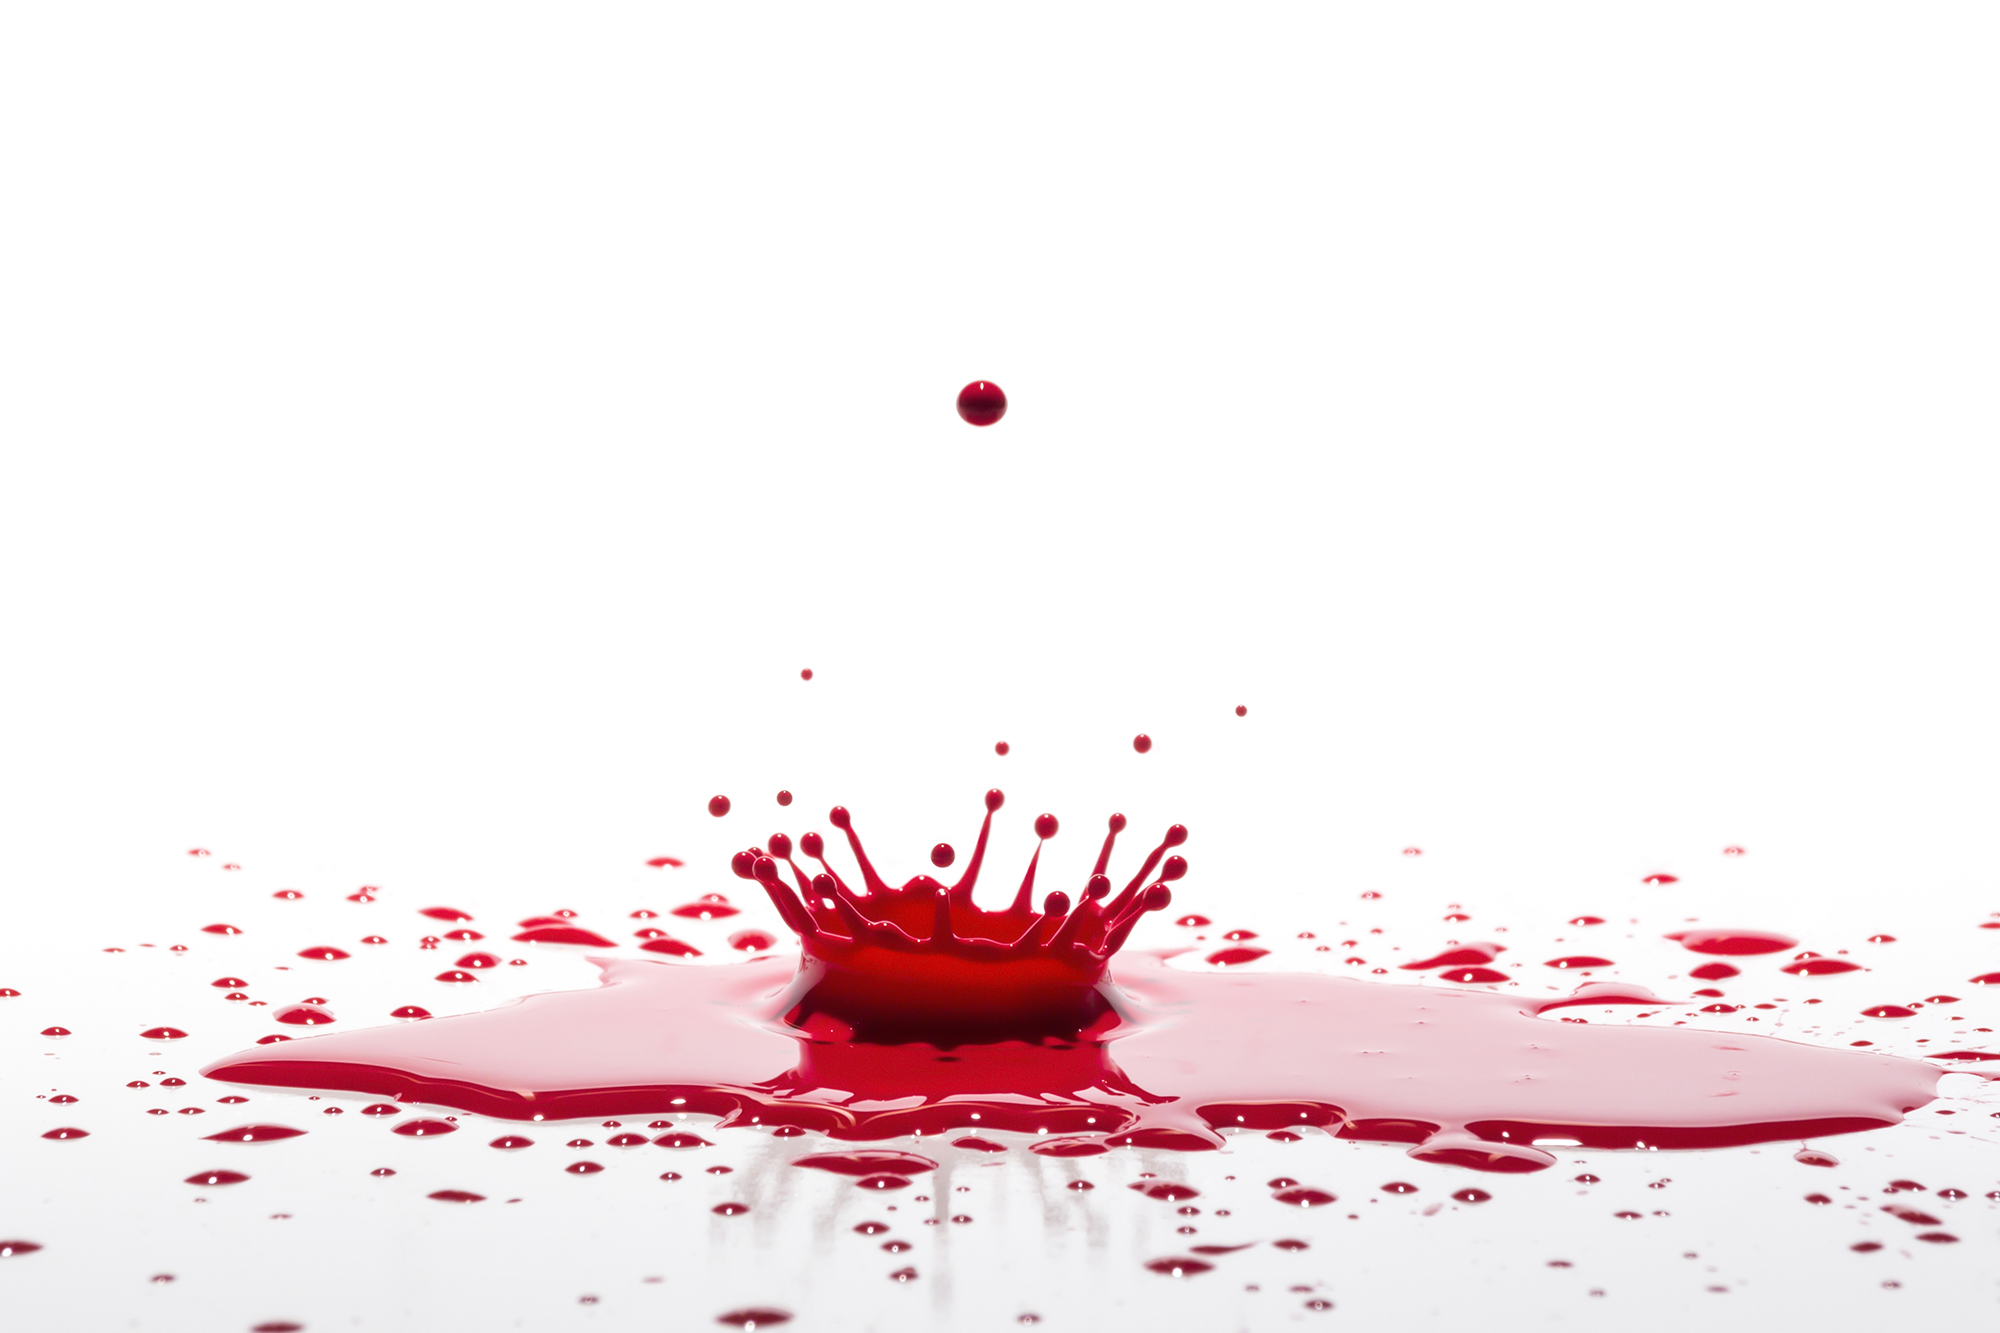
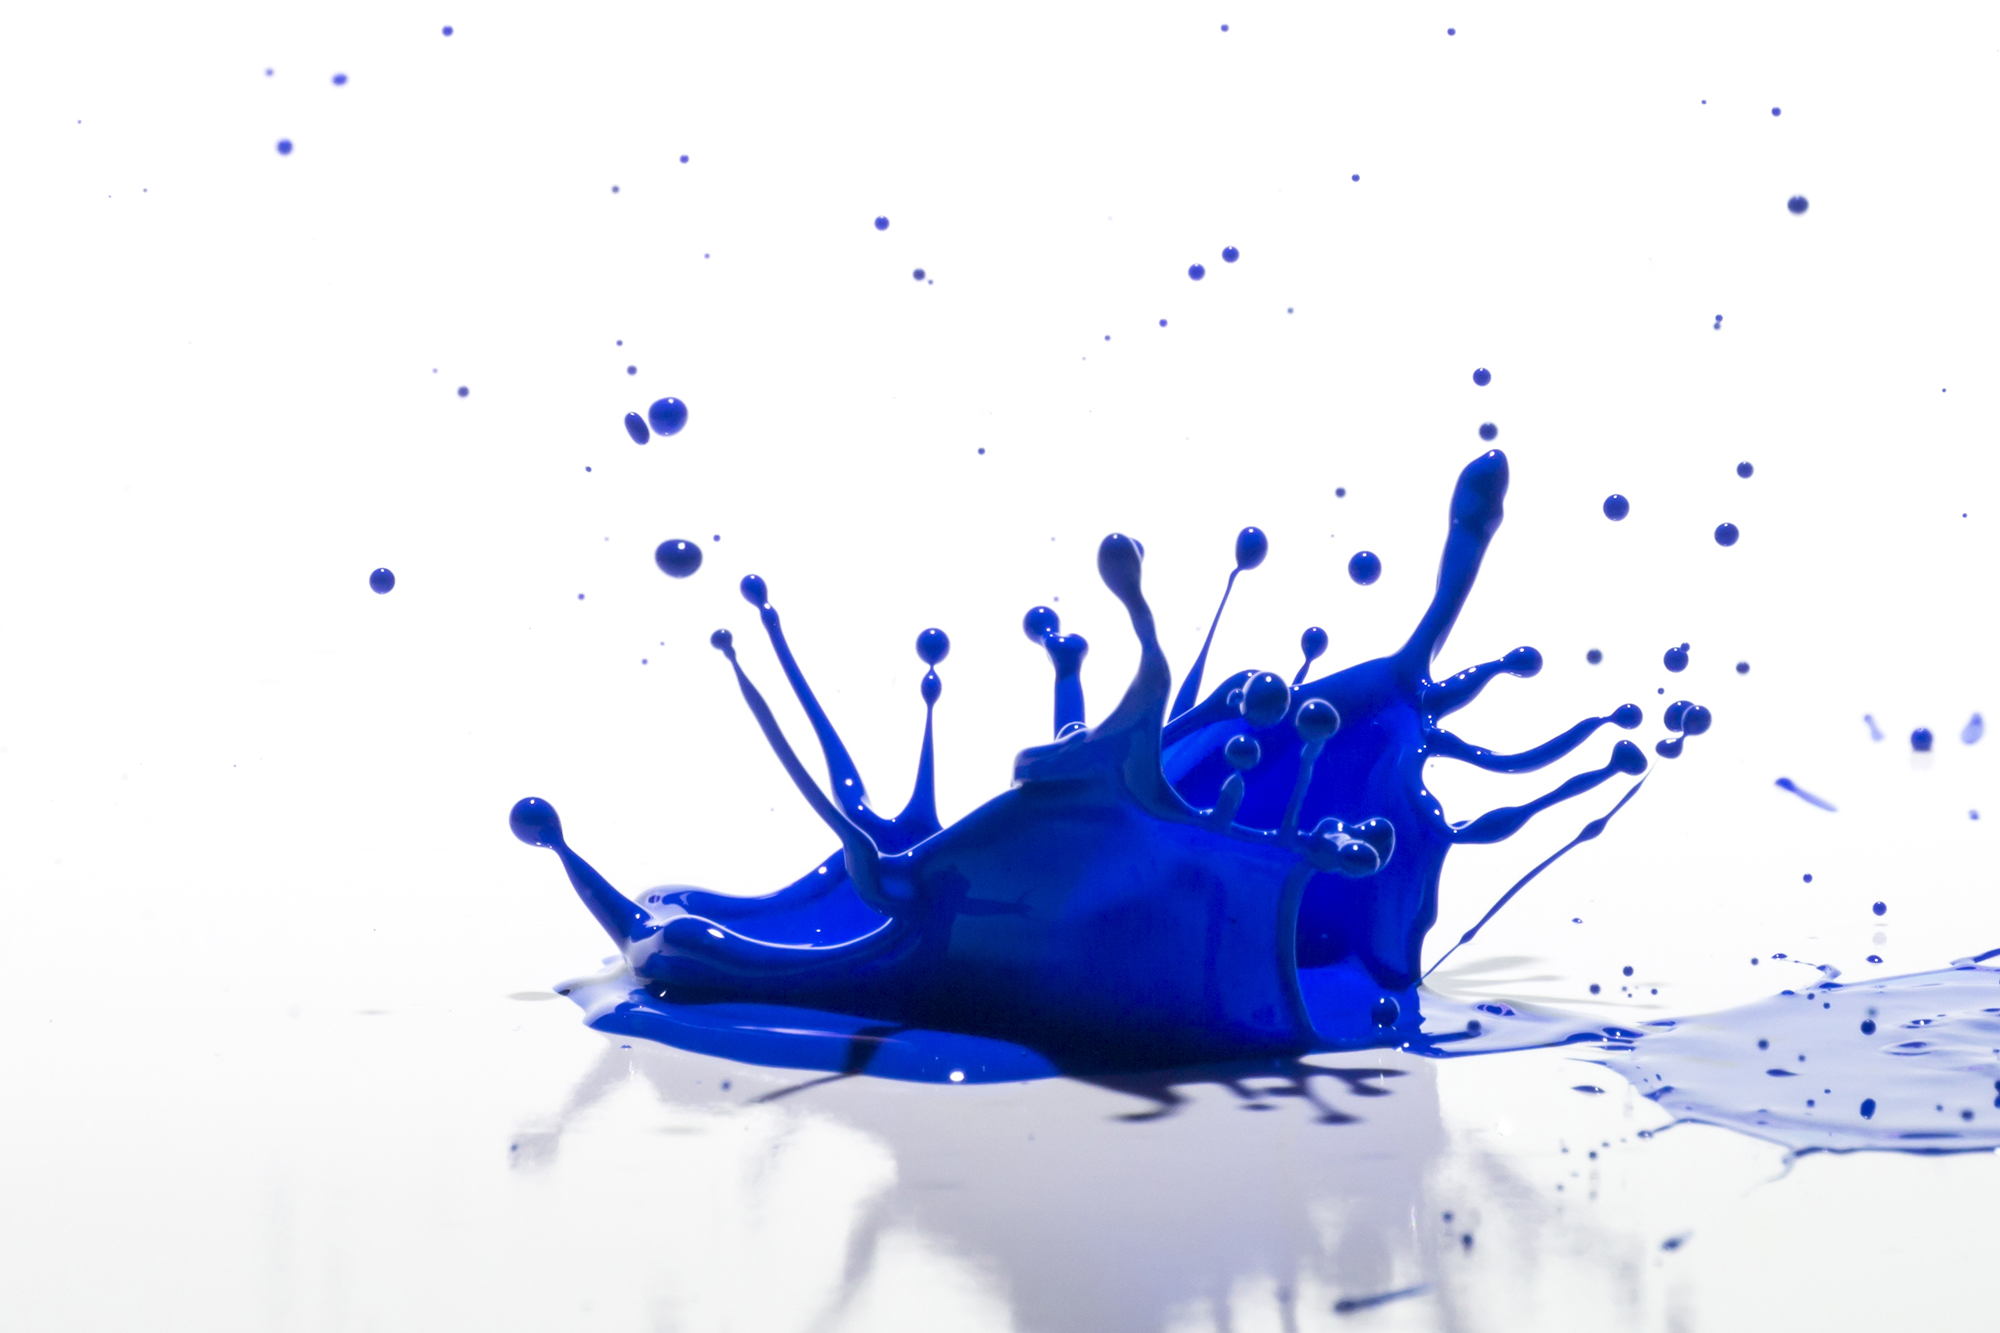
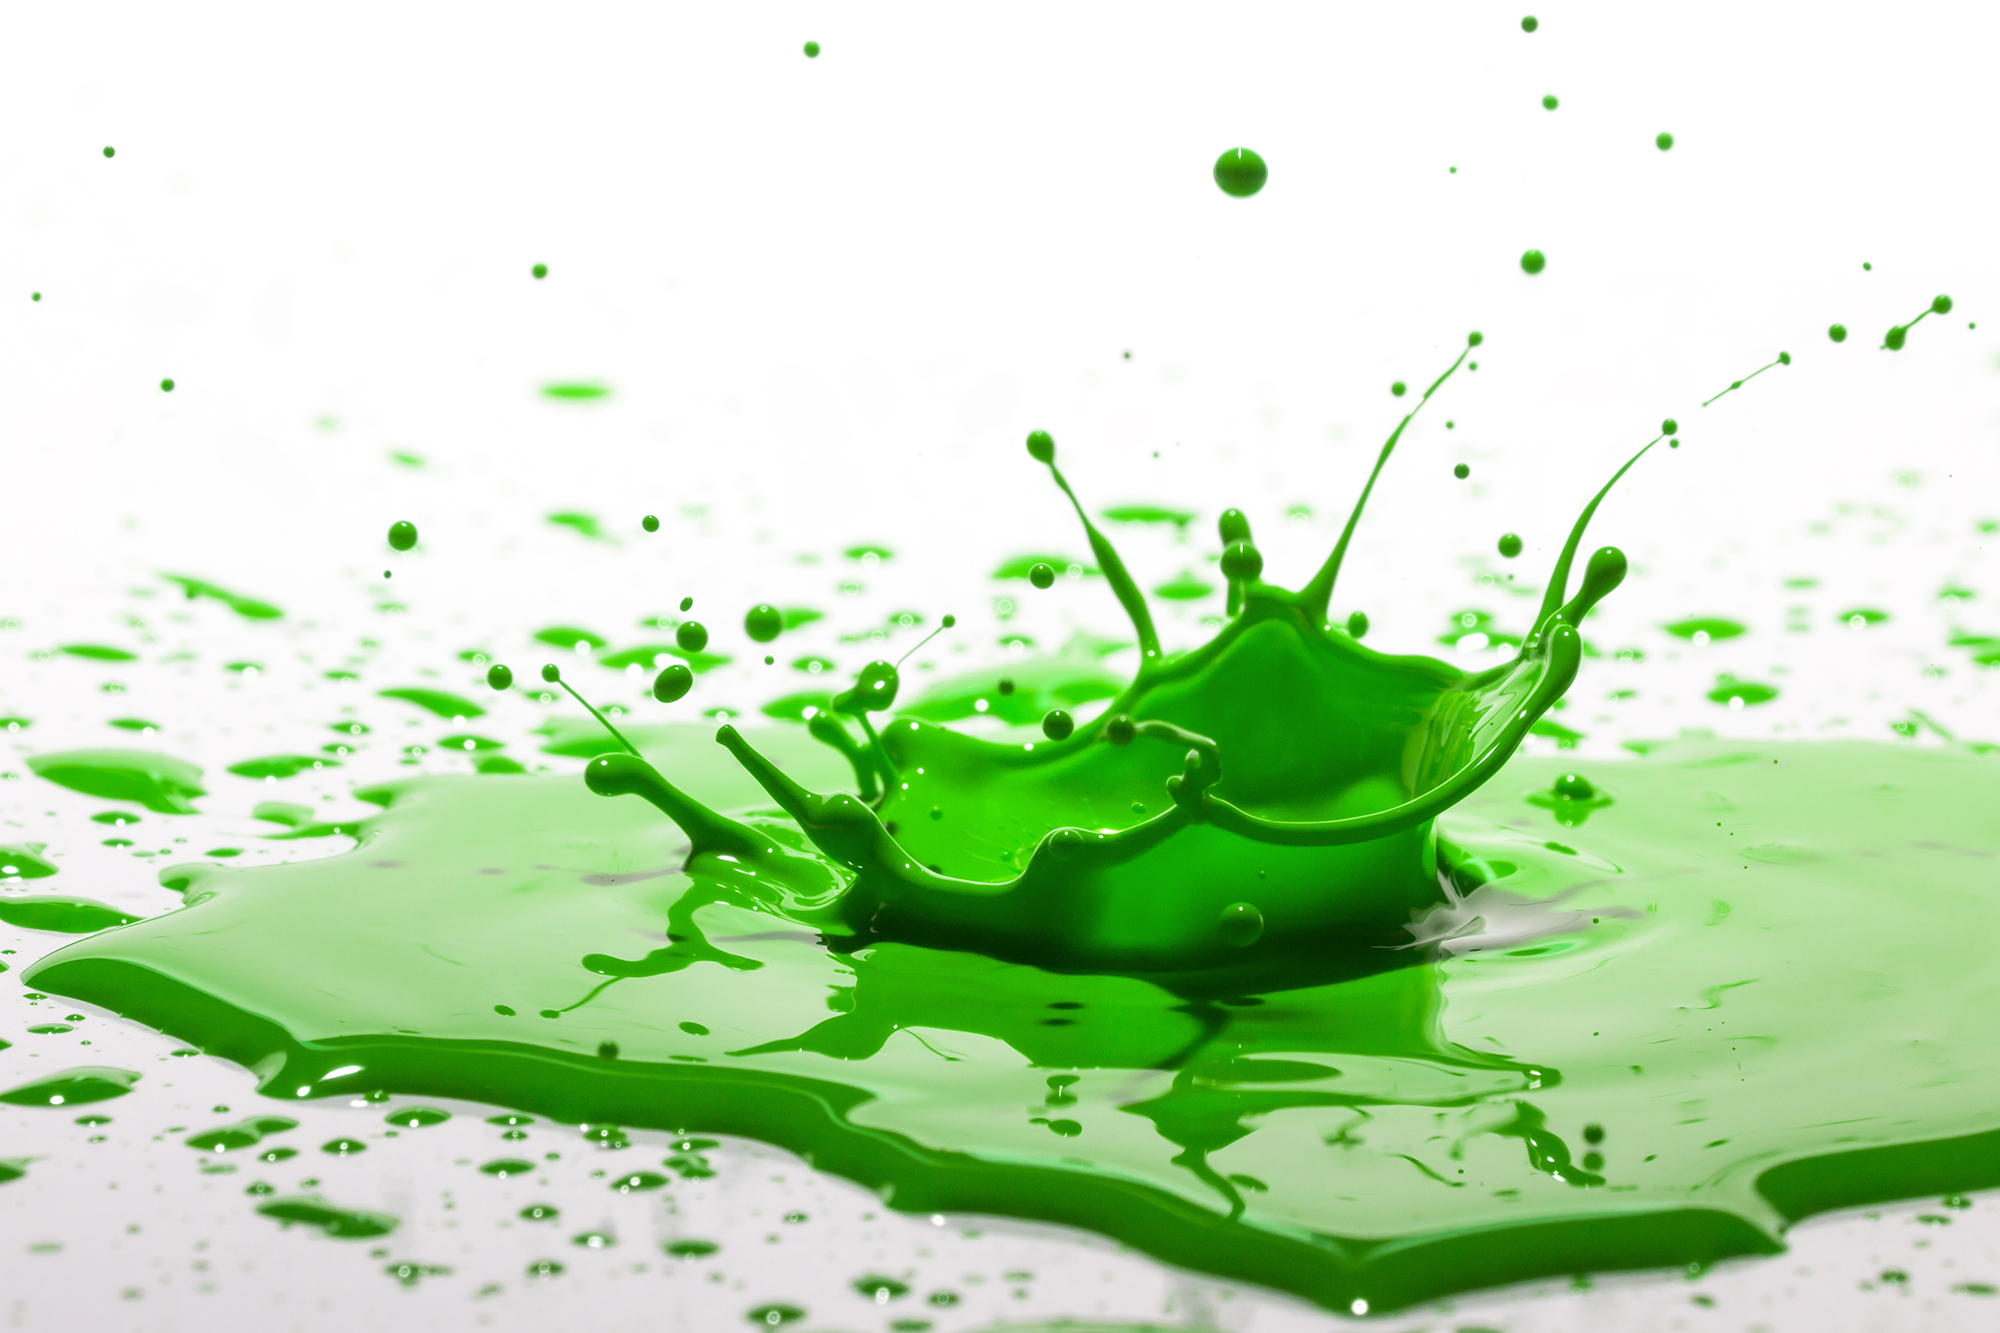
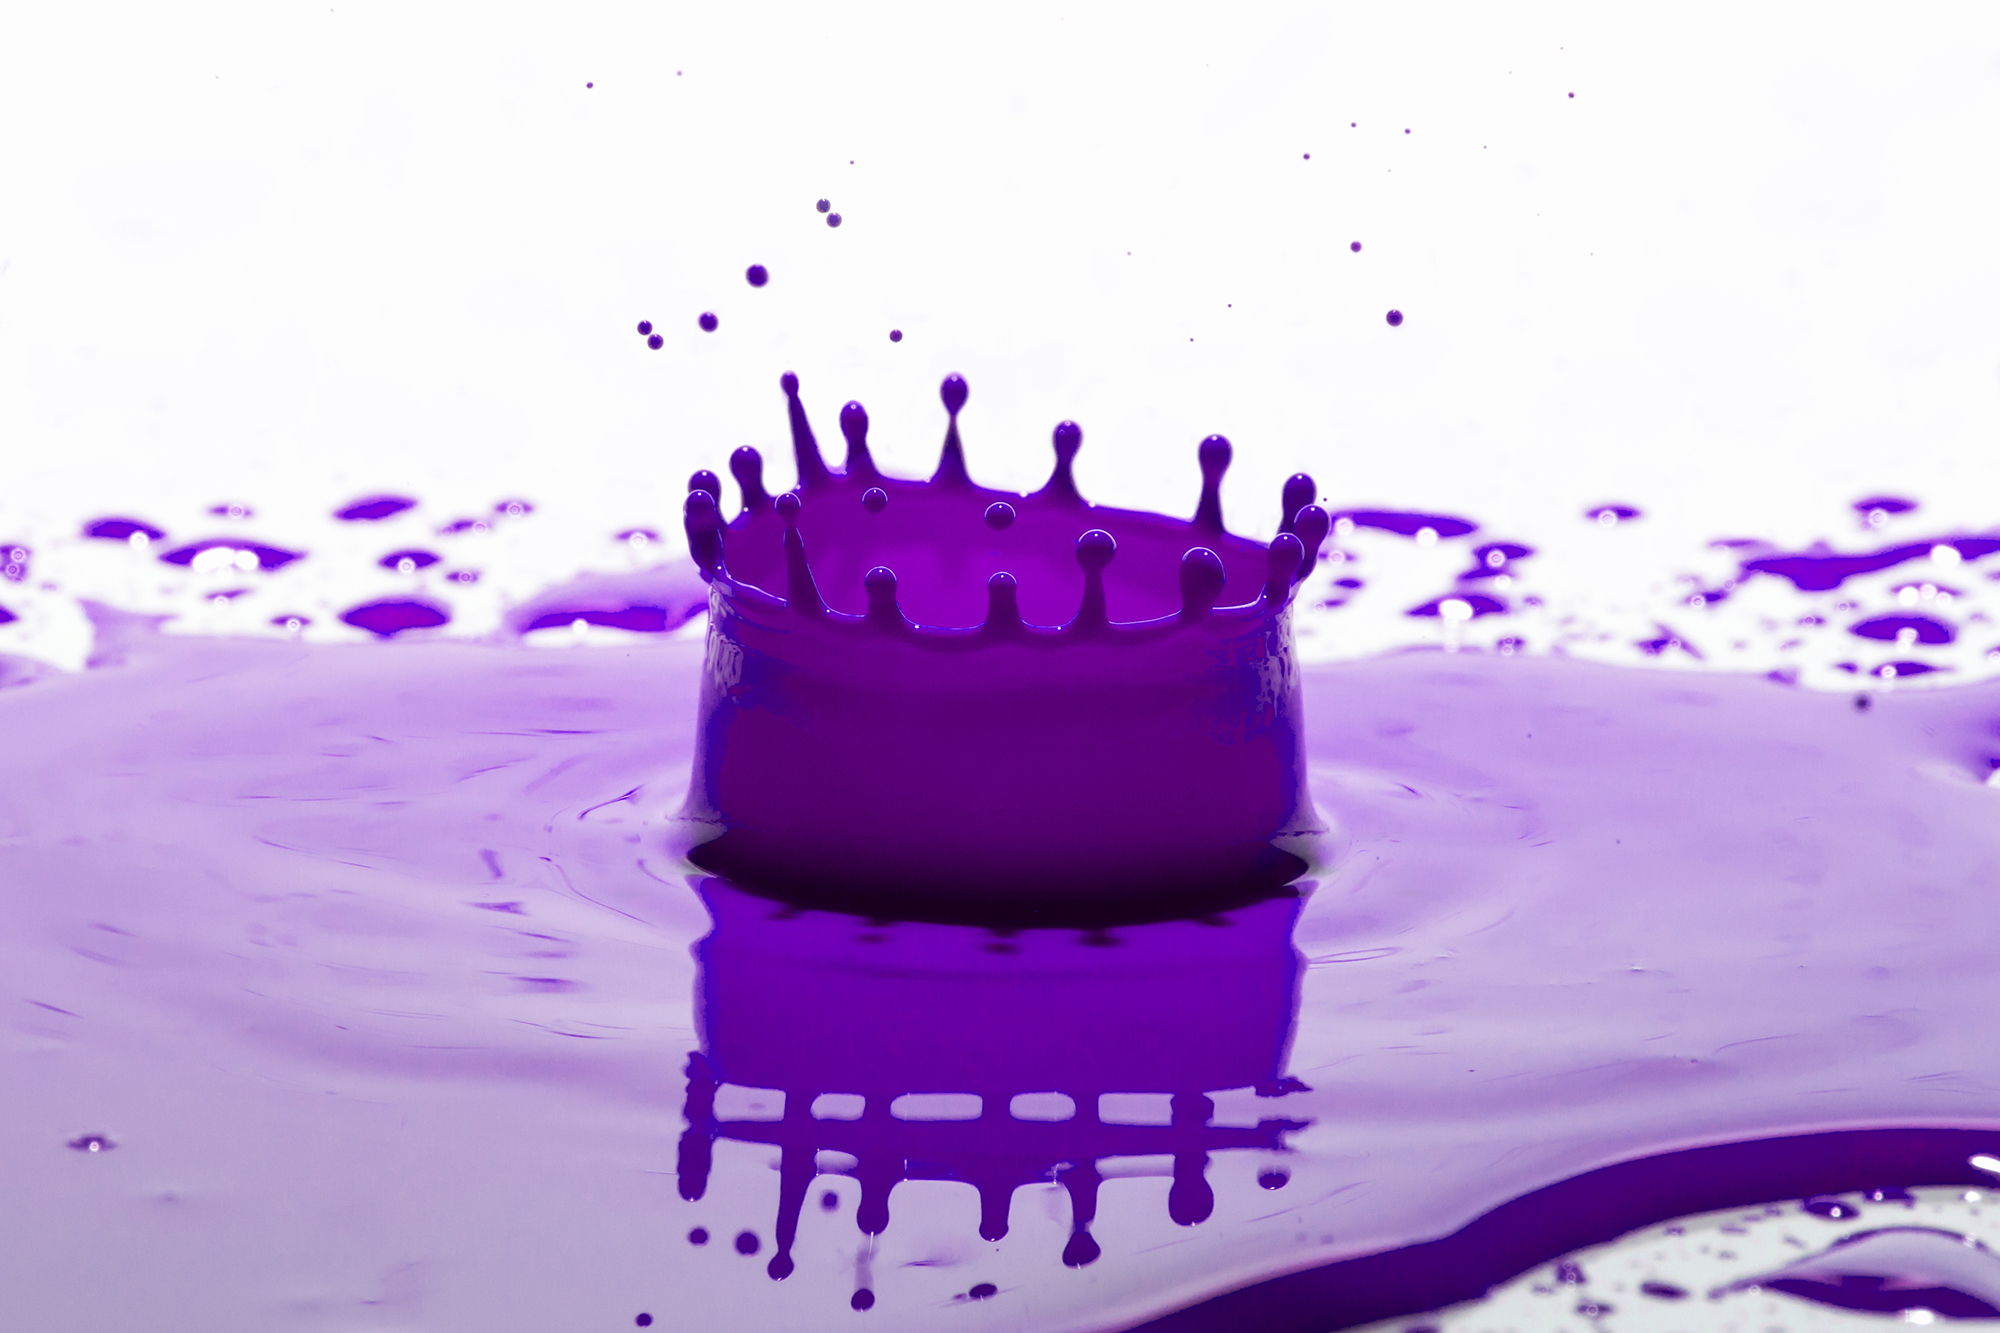
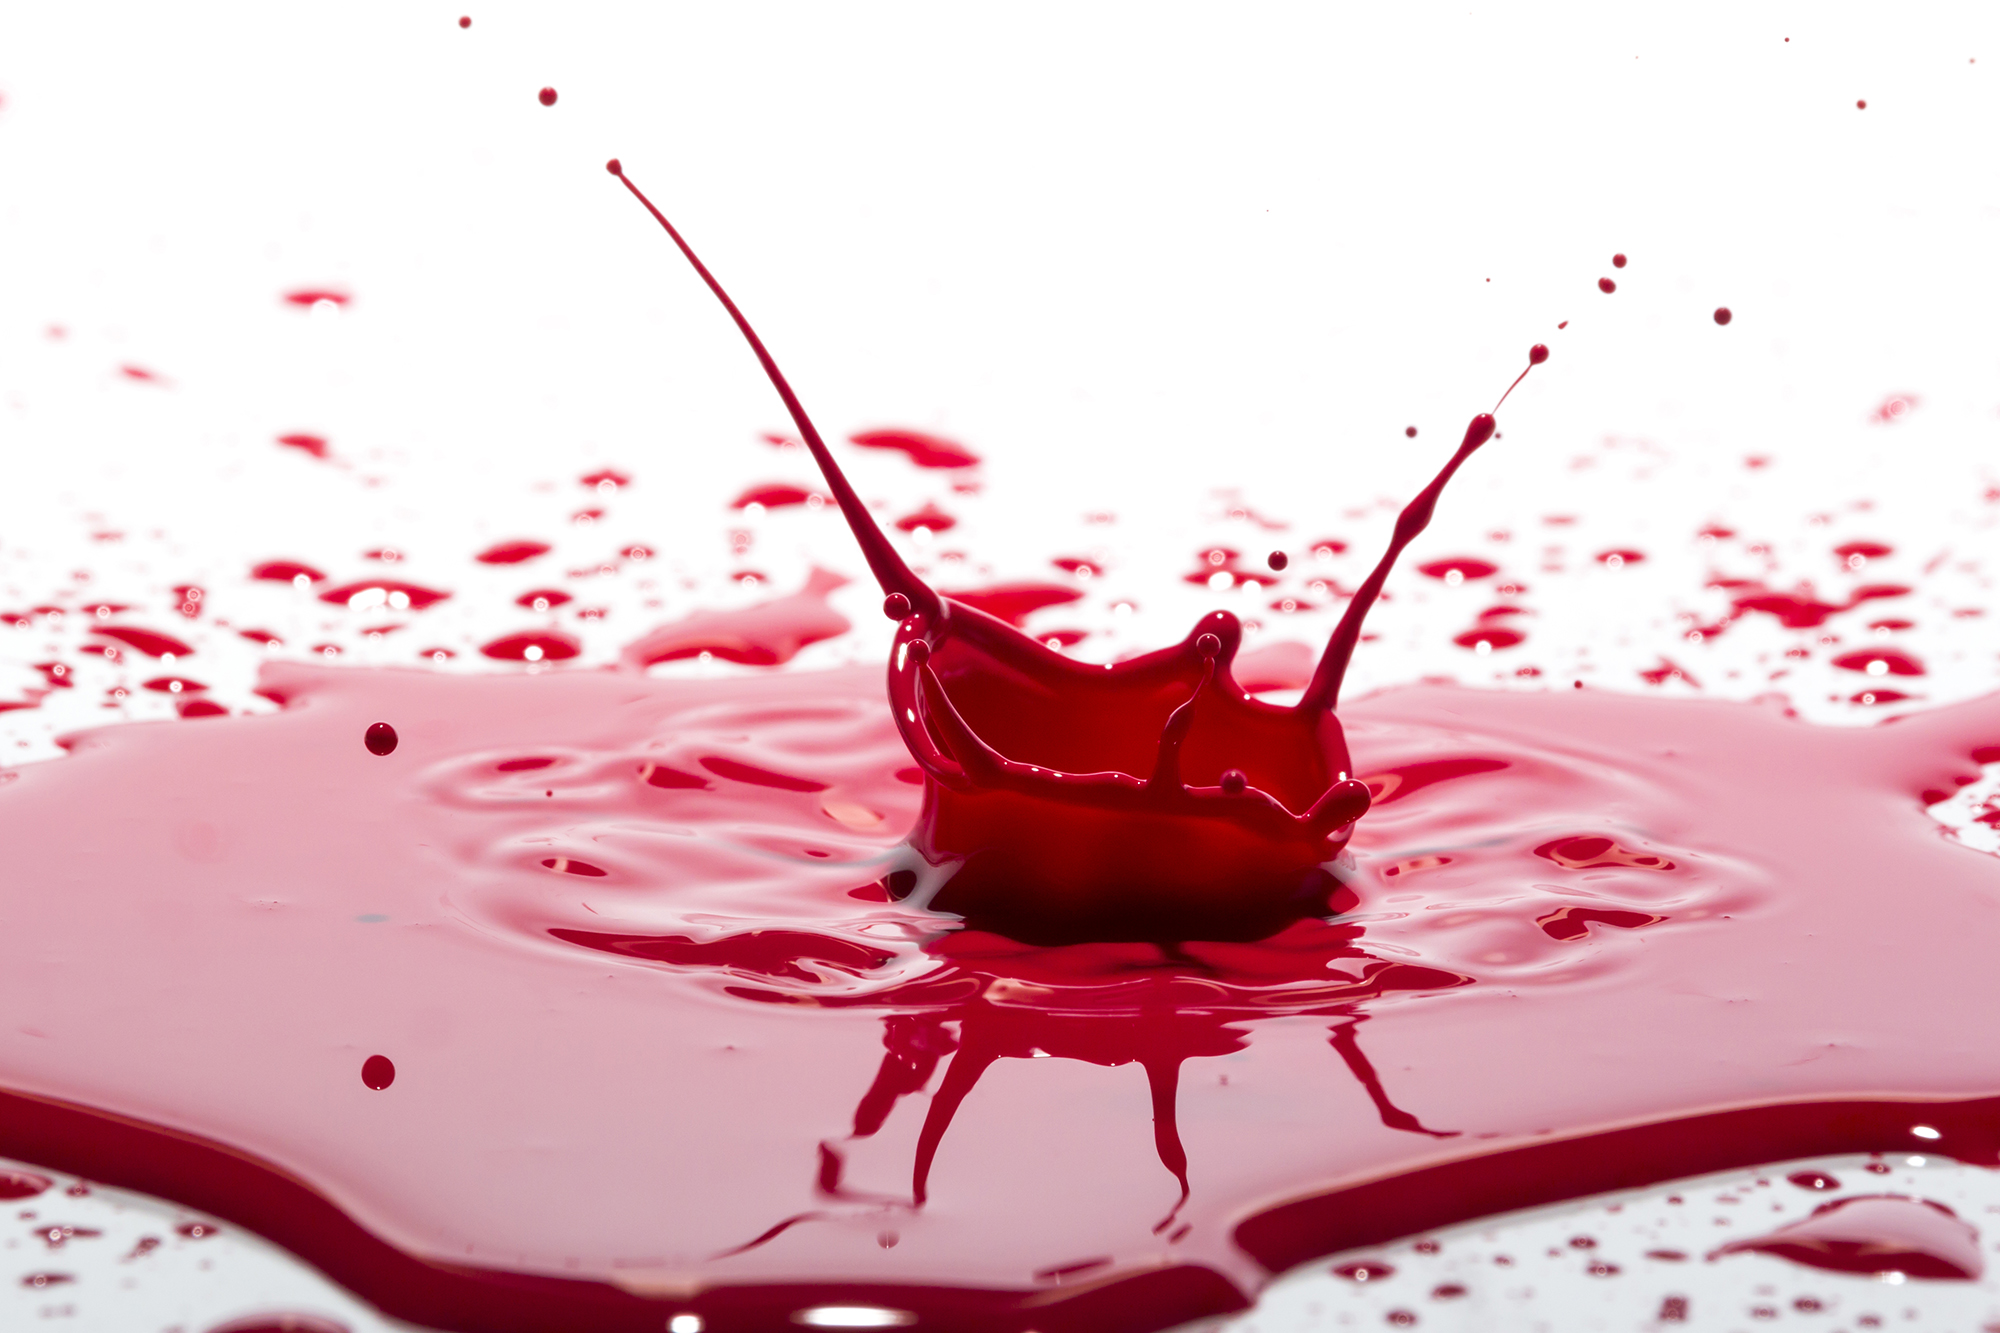
These were a lot of fun. For these photos I had basically the same setup as the water drops. A single strobe reflected off of a white board behind the paint. I also set up a little reflector in the front to try to get some more light on the front of the paint. I wanted a clean flat glassy look for the paint to splash on so I ended up buying whiteboard paper. It was glossy and easy to switch when too much paint started piling up. I used a flash stand above the table and taped a pipette to it. I'd fill the pipette with paint and have about 10 good drips of paint each time. This was another difficult one to synchronize. Having a wireless shutter remote was really helpful. I used red paint the whole time and changed the colors later in Photoshop. I love how unique each splash is. Ended up being a fun and messy project. I hope to try again soon.
Processed in Photoshop CC.
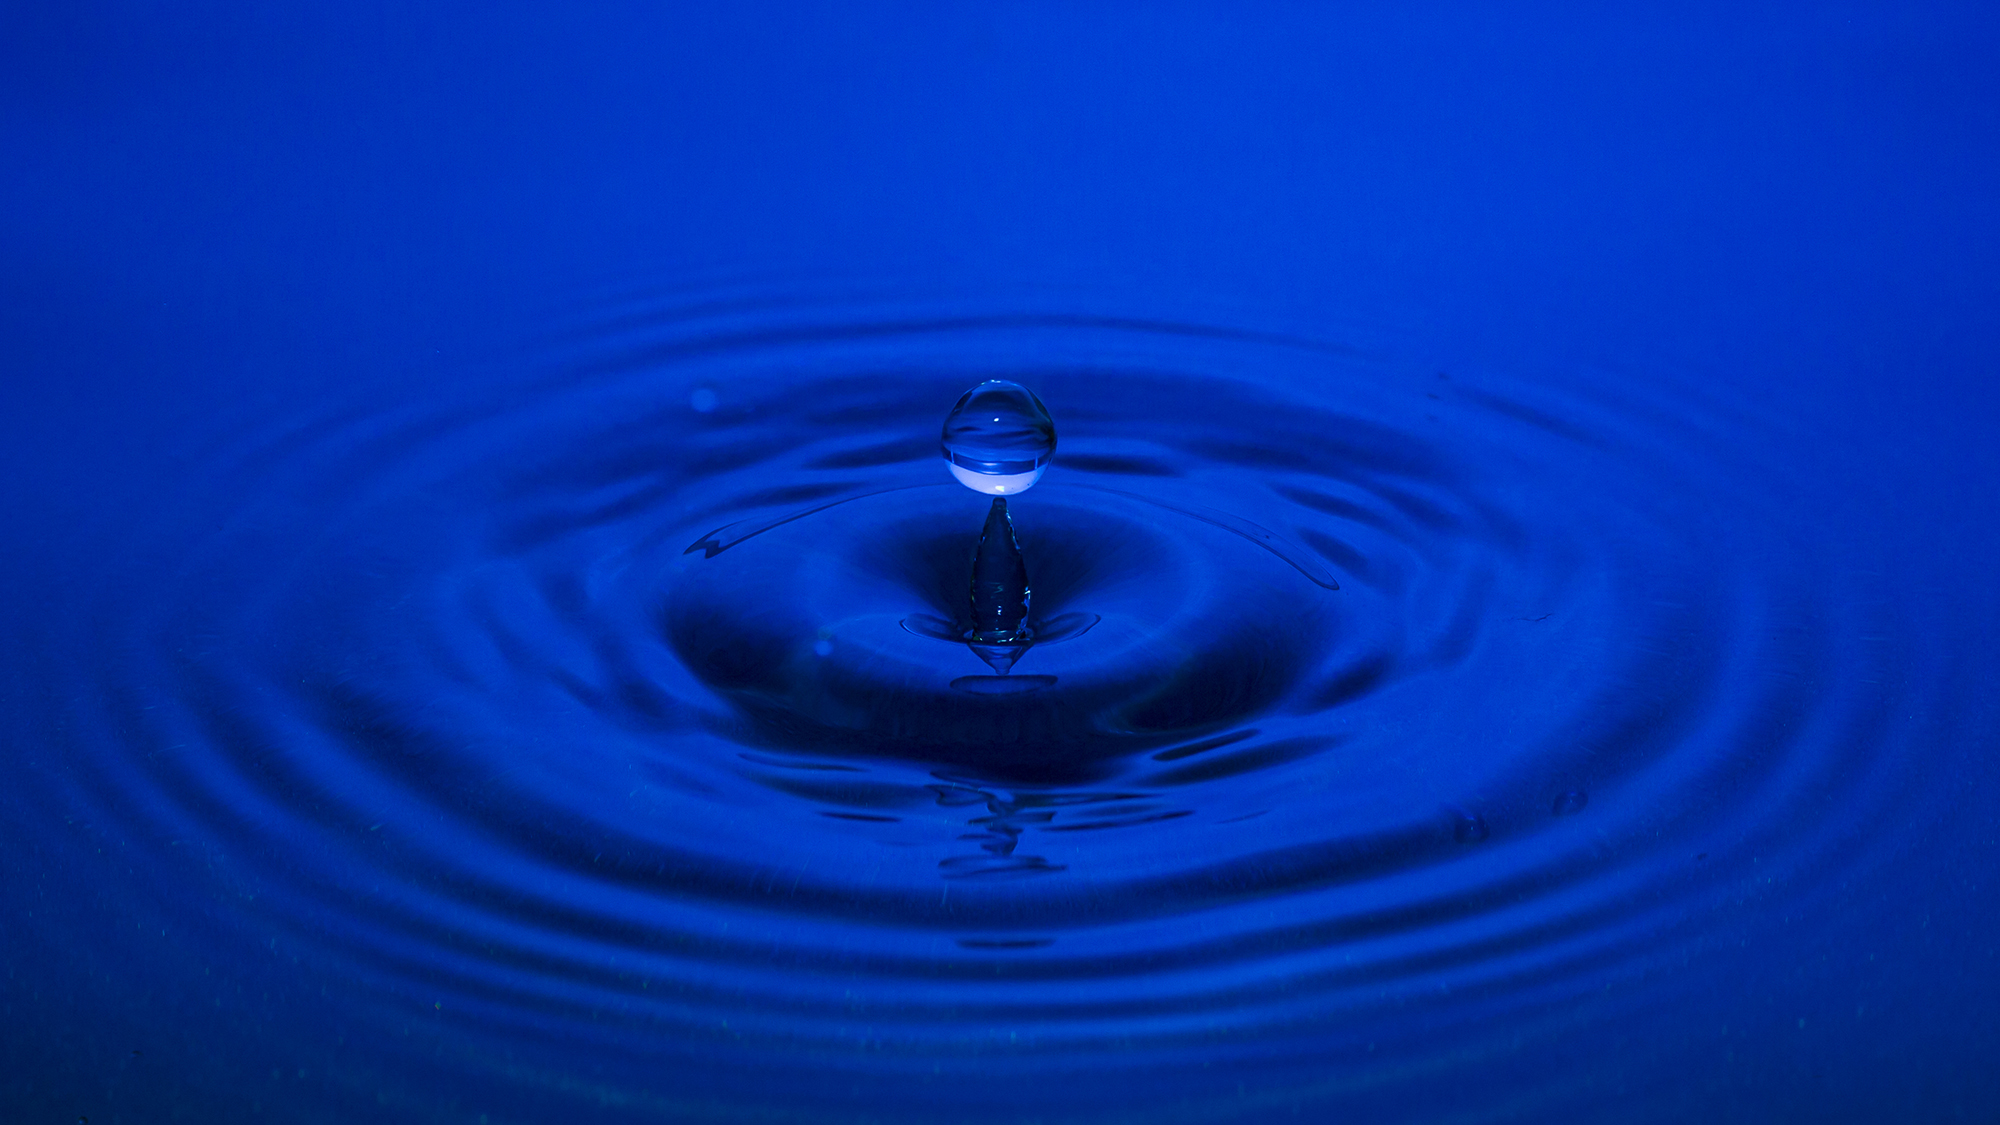
For these photos I experimented with water drops and colored gels. I used a strobe and bounced it off of a white reflector behind the drops. I set up a drip bag on the top of a flash stand above my pan of water so I would get semi-consistent drips. It took me a while to get used to the timing but I was pretty happy with the results. The strength of the flash had to be adjusted depending on the color of the gel I put on. Most had to be slightly brightened in photoshop. The texture of the pan gave most of the photos a grainy effect which I wasn't too happy about so next time I'll remember to use something other than a cooking pan. Learned a lot about freezing motion with a strobe and flash synchronization.
Processed in Photoshop CC.